Building a strong foundation . . .
As promised, some updates on the progress of Liberty Oak Studios under construction!
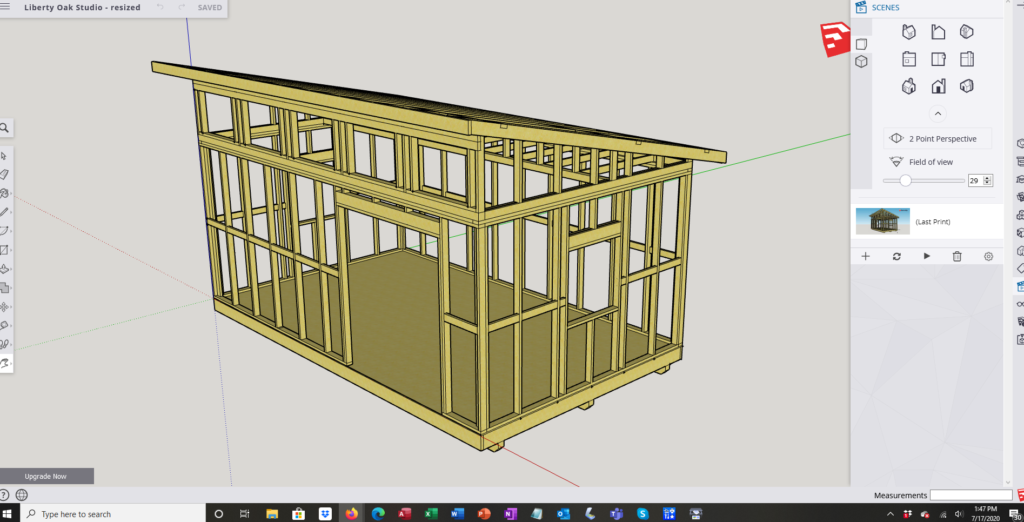
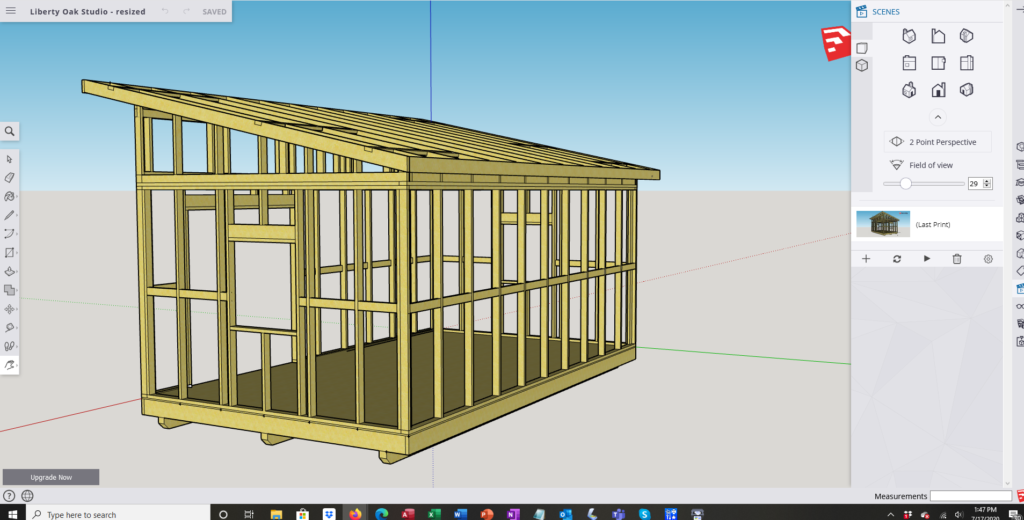
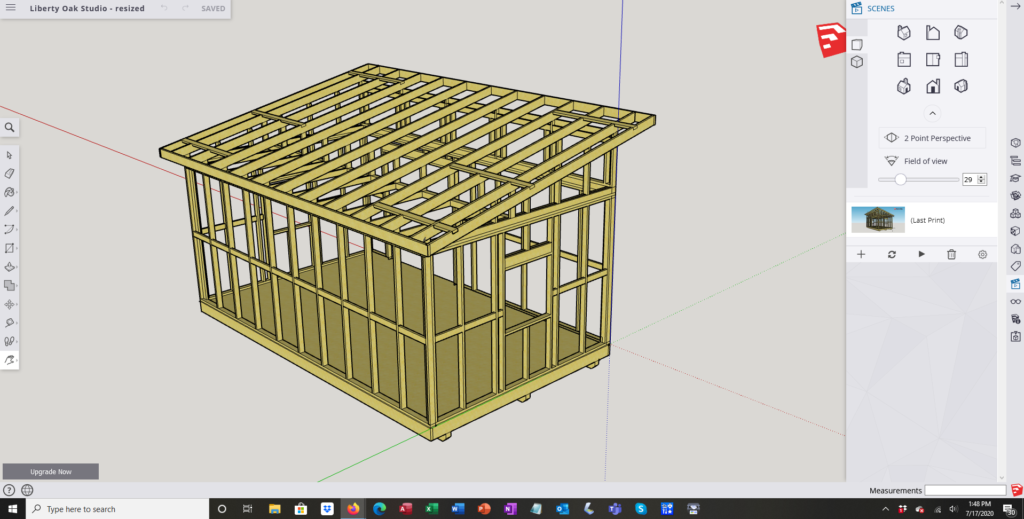
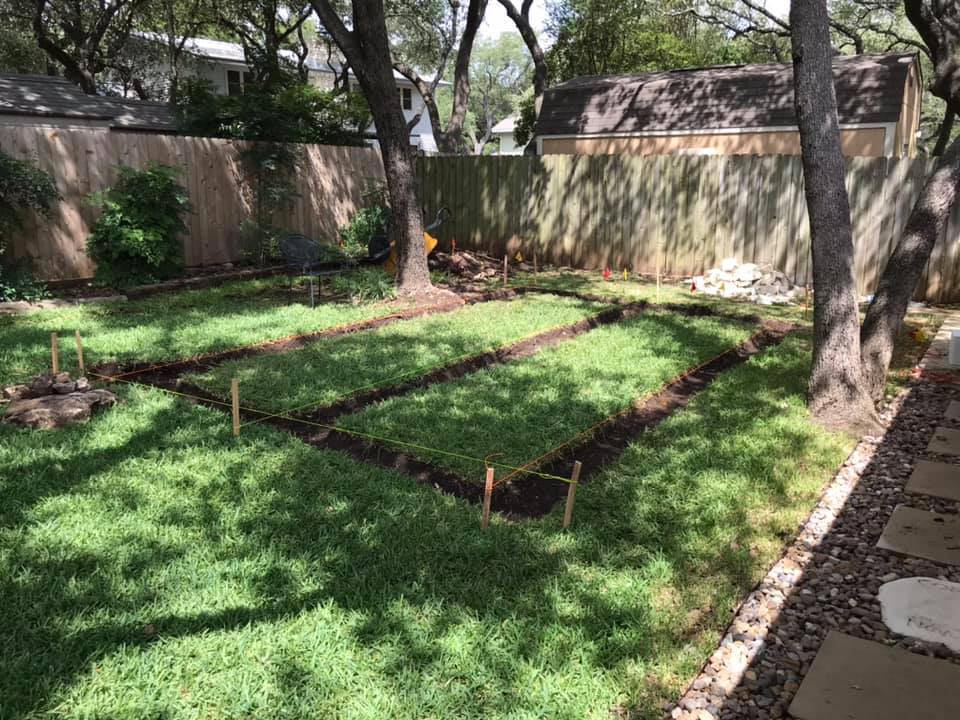
Everything begins with a plan and here’s ours. Joan Marie and I settled on a simple design, a 12′ x 20′ rectangle that didn’t force us to remove any trees. It will serve as the studio for my sculpture work. The drawing below was done for budgeting the framing, done in SketchUp, it shows the basic shape of the building.
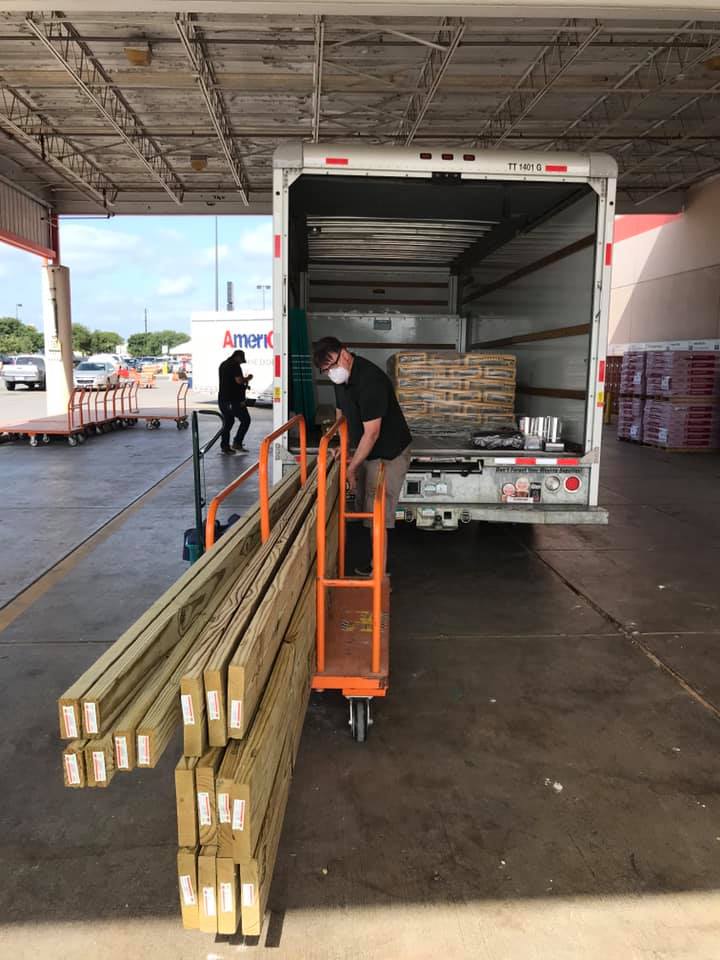
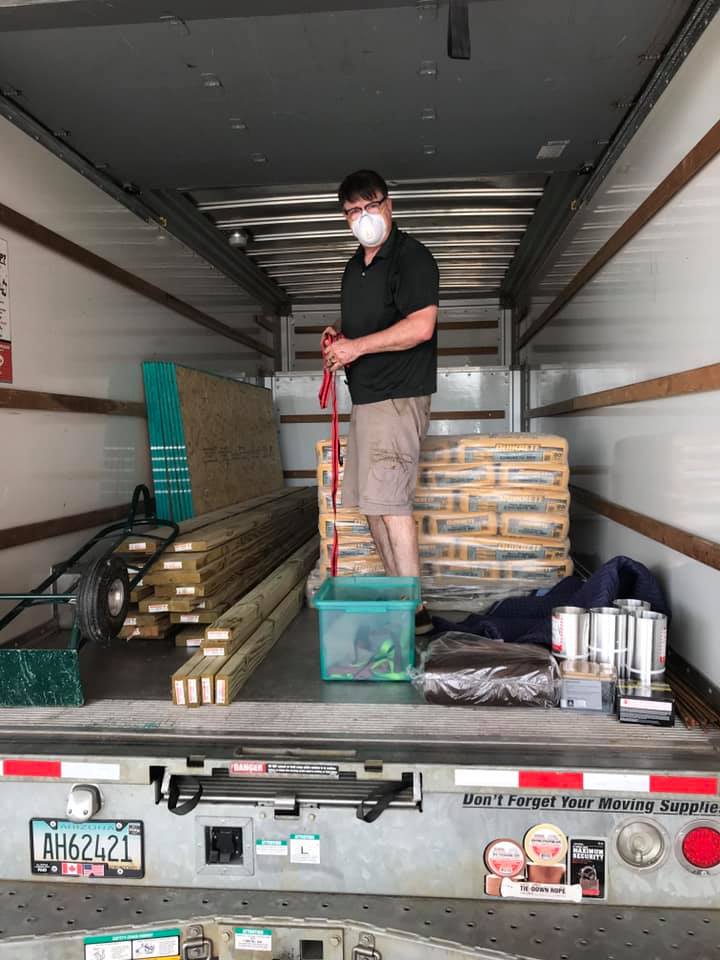
With a plan complete, Joan and I head to the local material store and purchase lumber, steel rebar, concrete and more! Oh, and the footer holes need to be dug, in 100+ degree Texas heat, no less!

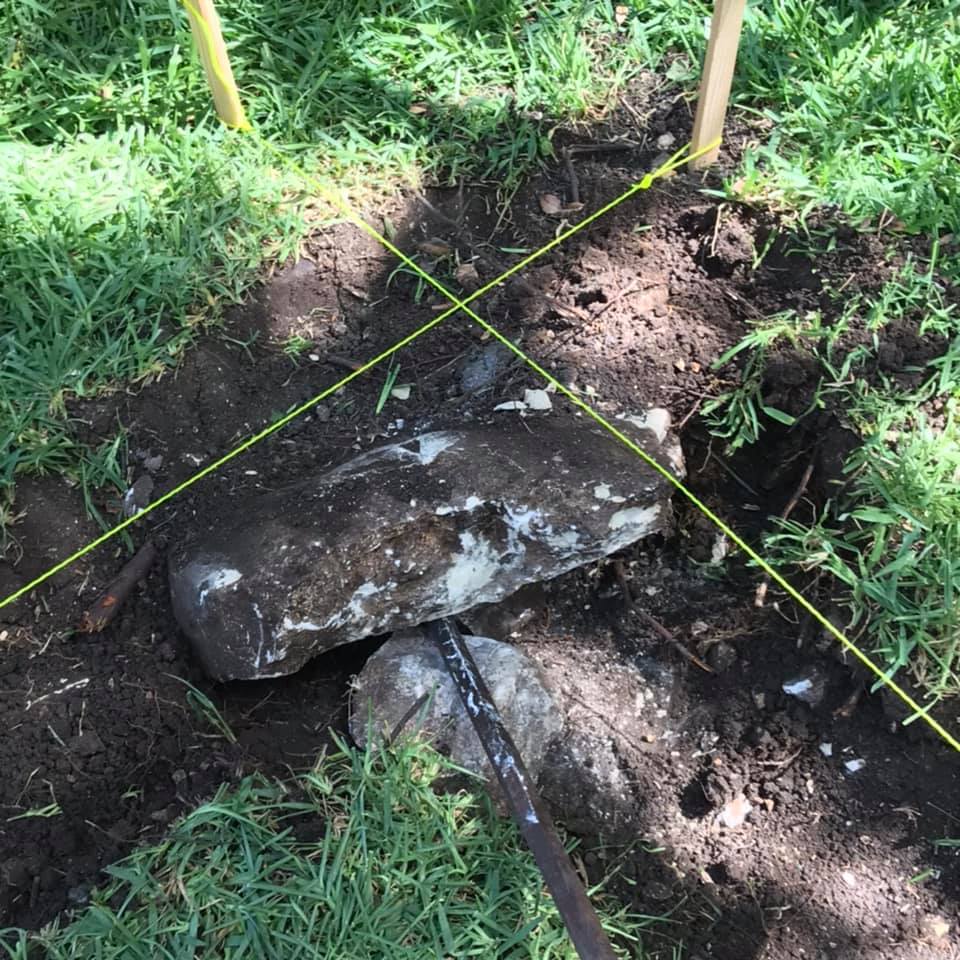
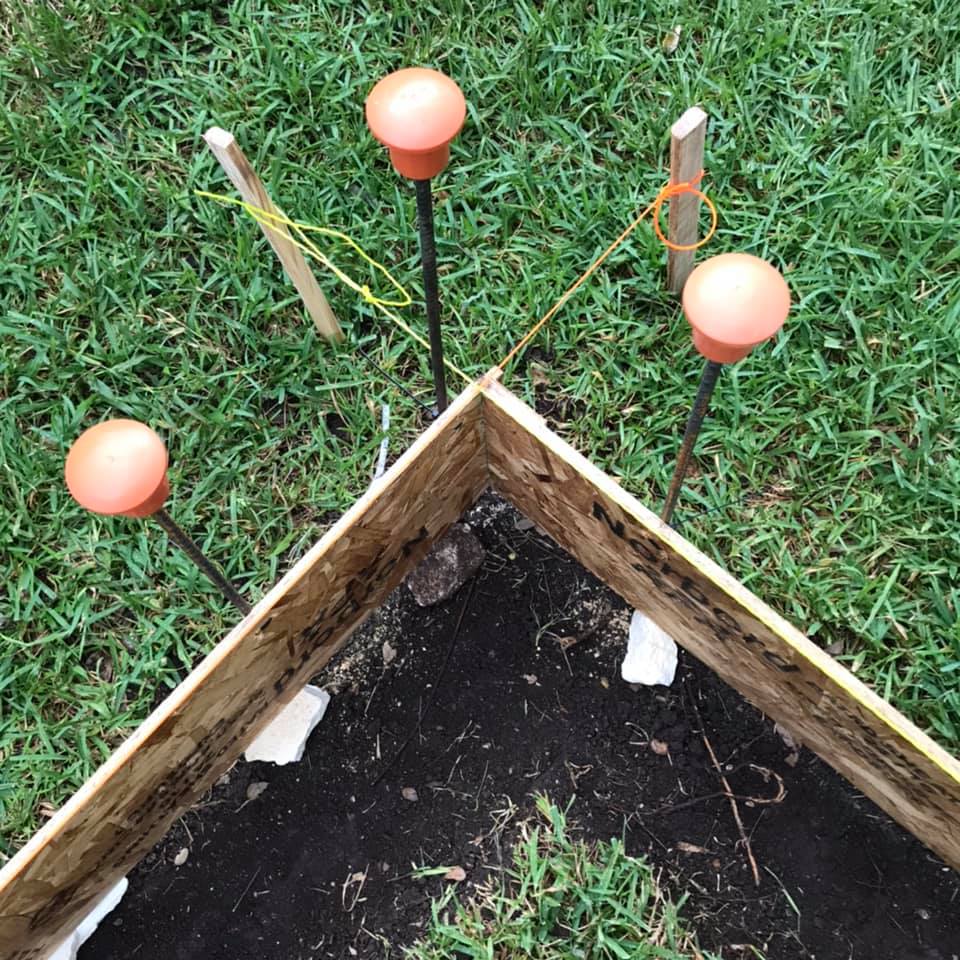
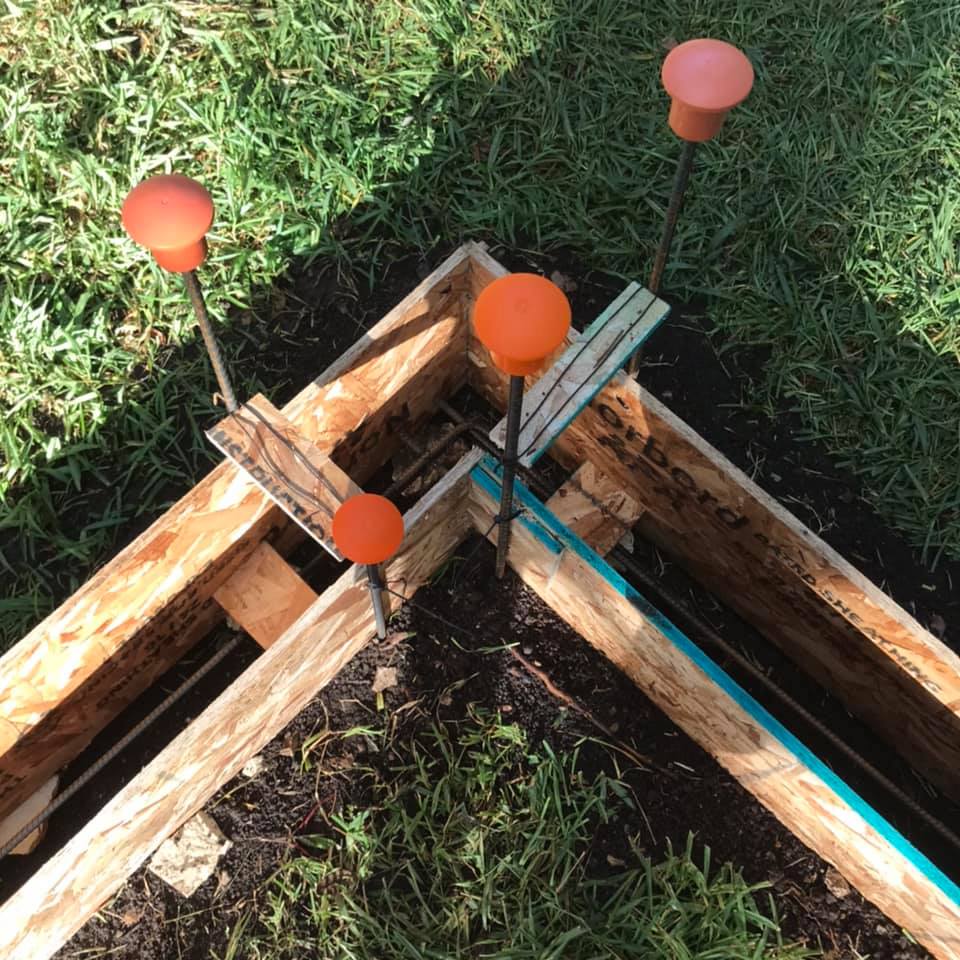
With the holes dug, now it’s time to form the footers with OSB plywood, and drop in the steel rebar. It’s critical that everything be level and square as the forms determine the shape of the foundation and everything that sits upon it.
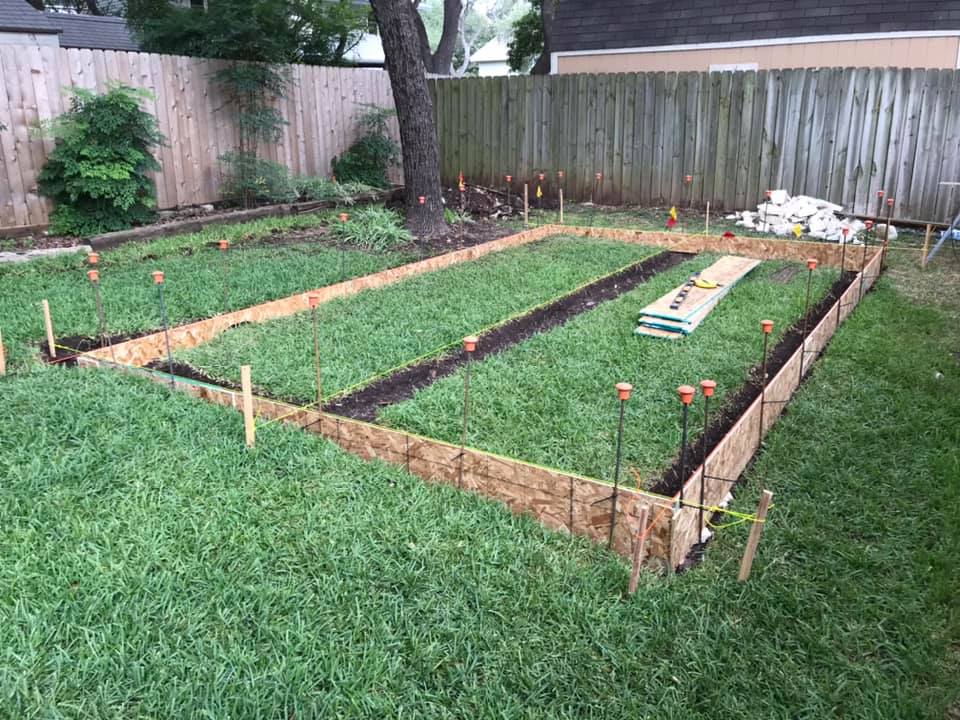

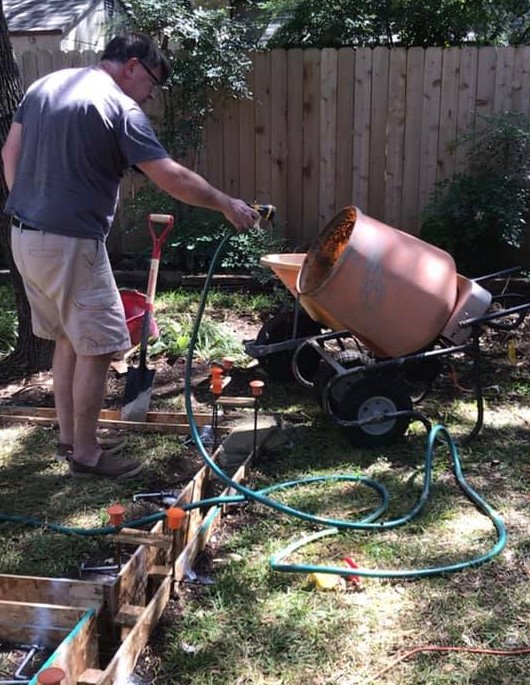
To ensure strength, once the forms are leveled and squared, they are filled with concrete in a continuous pour around the perimeter, thanks to Joan Marie, who is the most stylish concrete mason I’ve ever worked with!

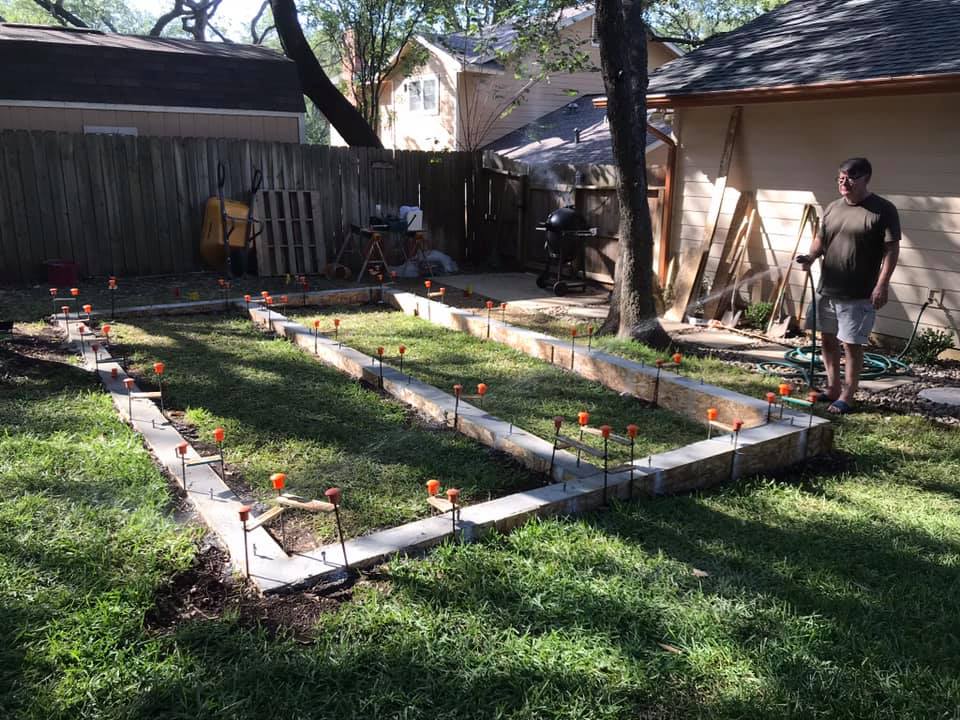
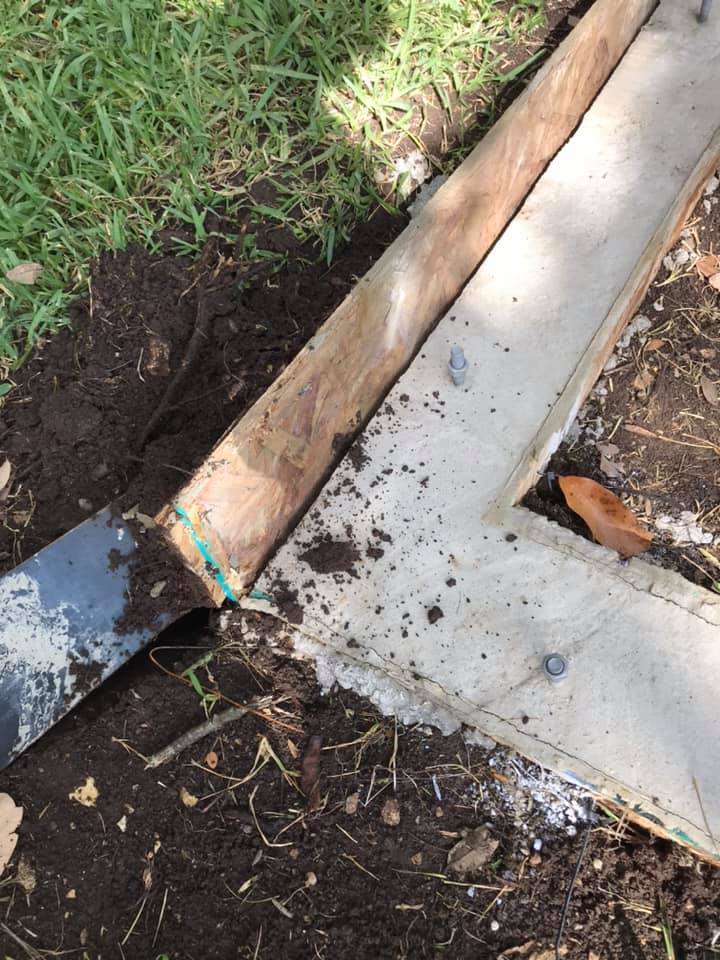
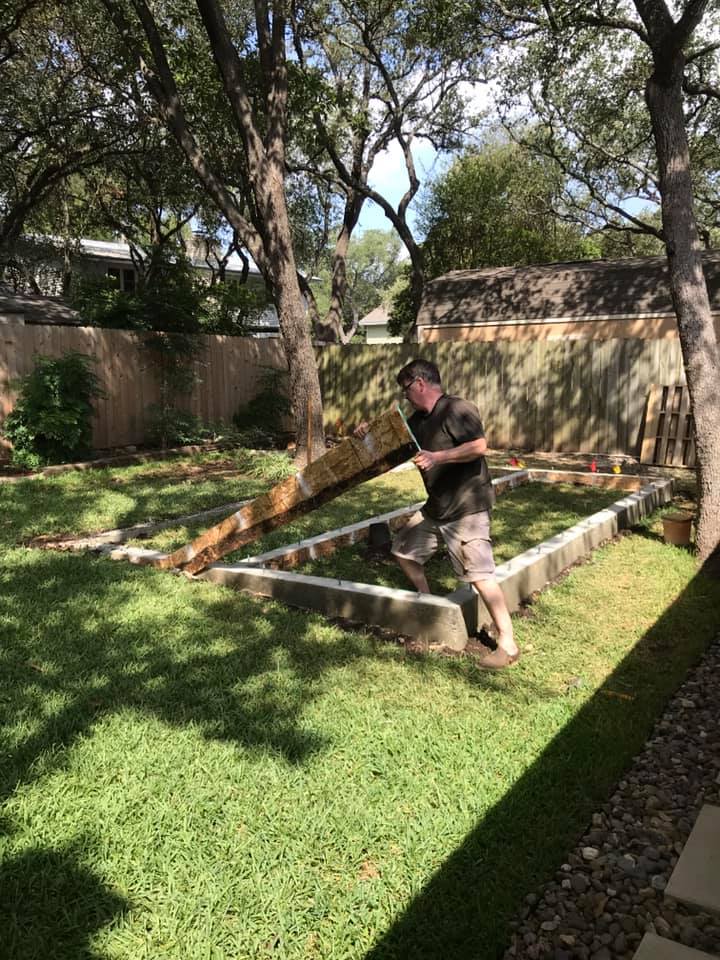
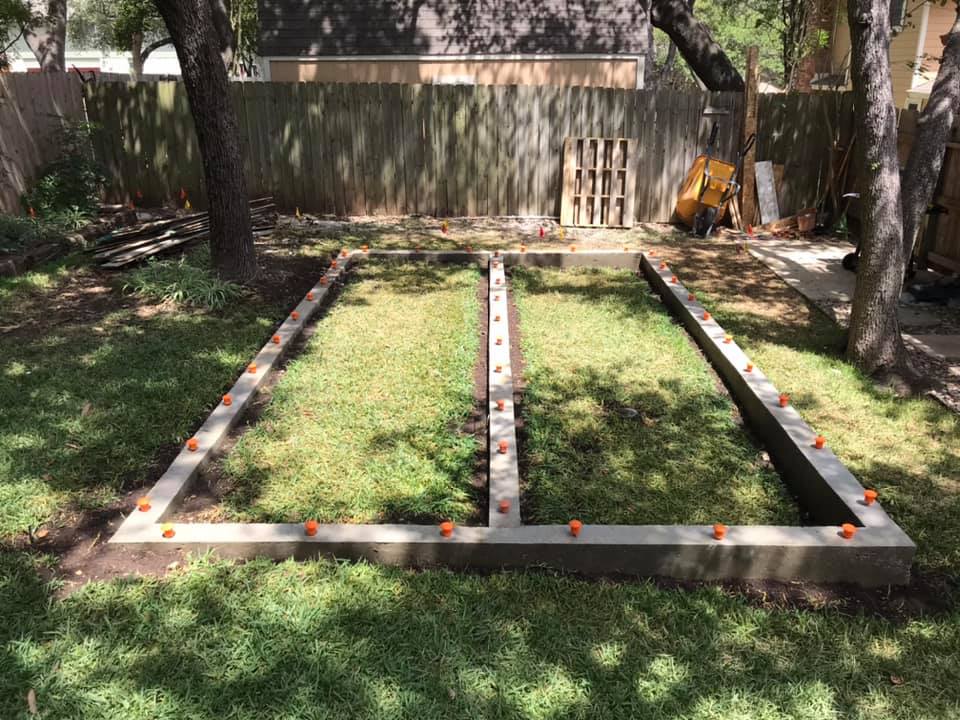
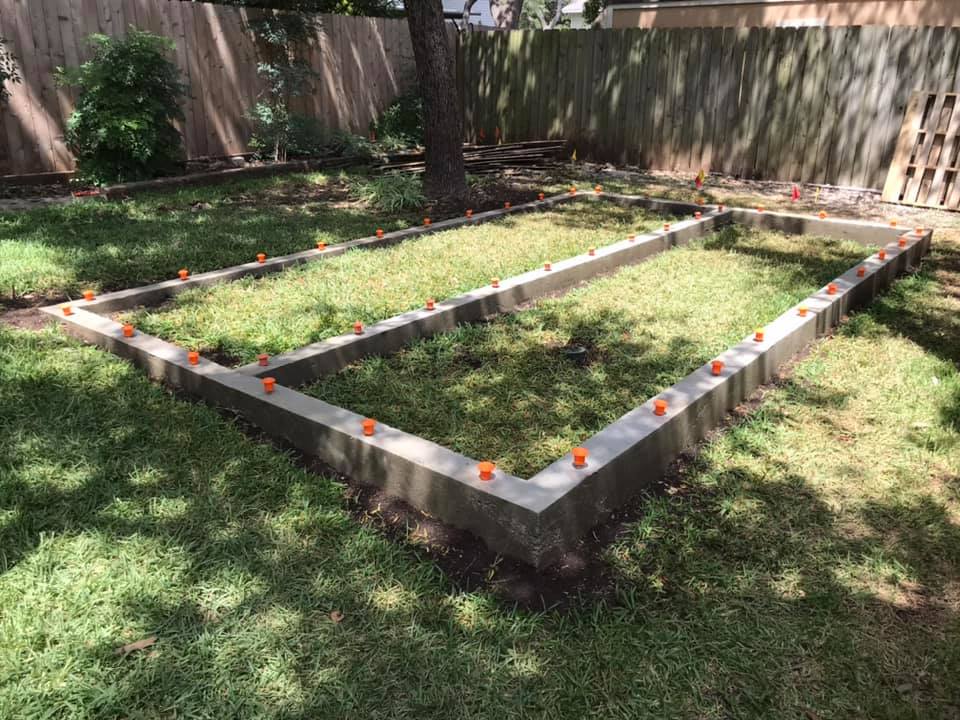
The pour is complete – now we water and wait for the concrete to cure to hardness. We need to wait for at least seven days before we do any framing on top of the foundation. We water the concrete daily to ensure a slow cure and best strength. And finally, to complete the foundation, it’s now time remove the forms. Because we’ve been watering the footers multiple times every day, the OSB swells and pulls away very easily from the cast concrete. The footers are complete! The last touch is to ensure safety by capping the j-bolts with plastic mushrooms. My inspector, our neighbor Ben, approves of my attention to safety!


That’s it for this post! Thanks for reading! More to come!!