Defining the space . . .
So, work continues at a fairly good pace on the construction of Liberty Oak Studios!
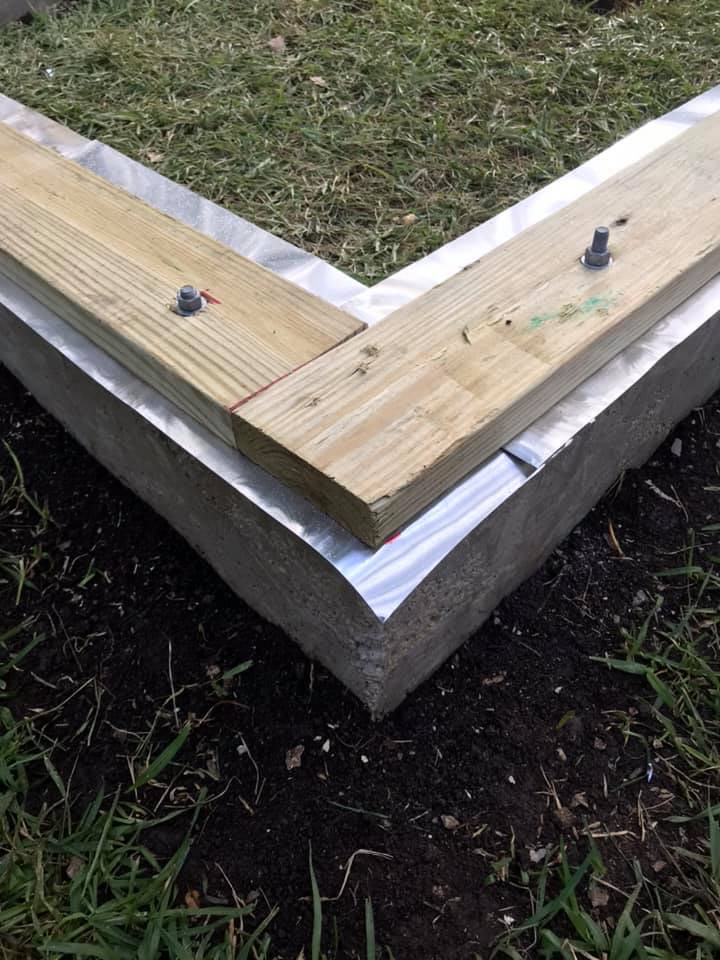
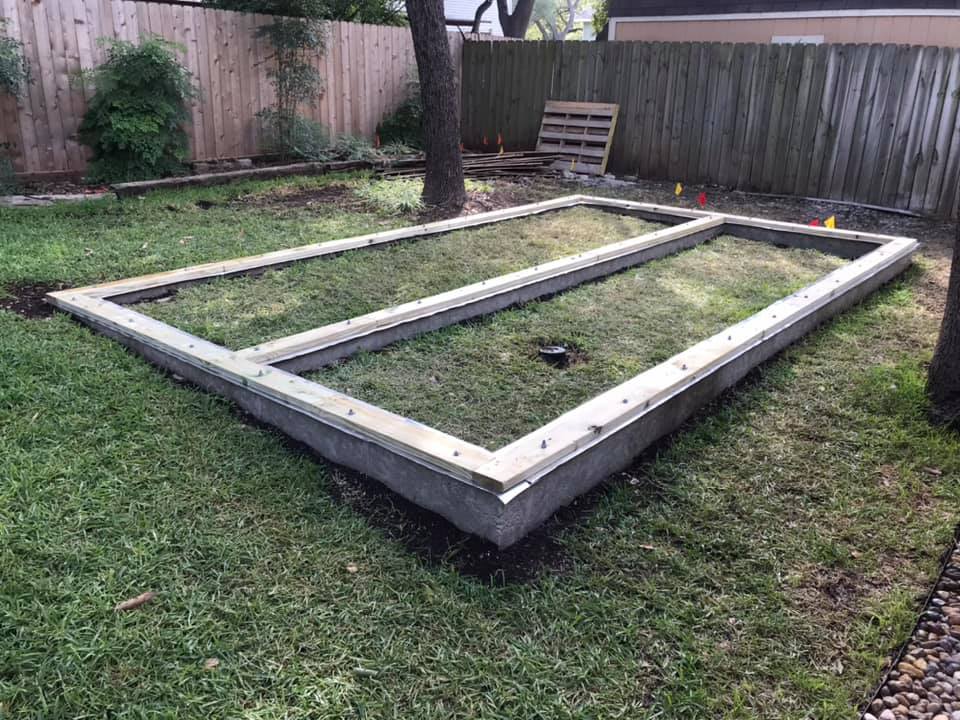
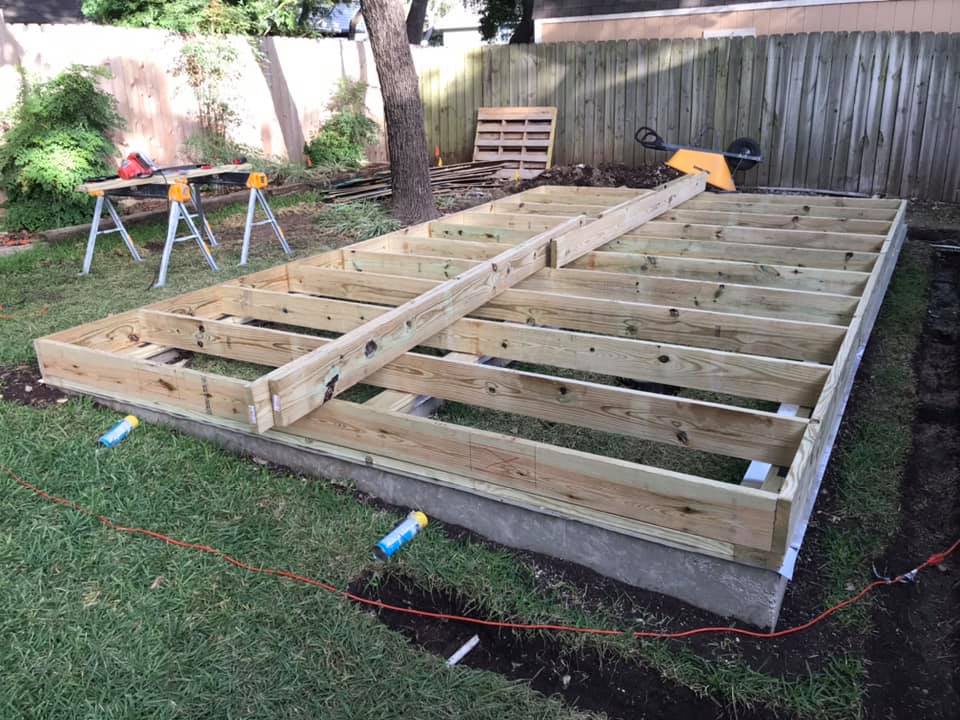
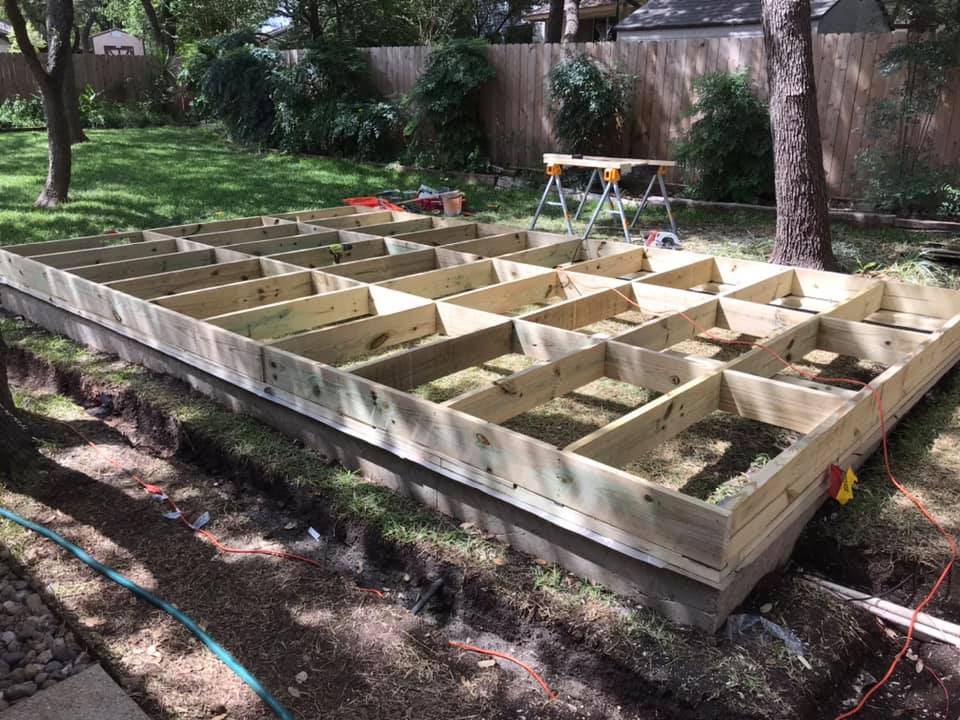
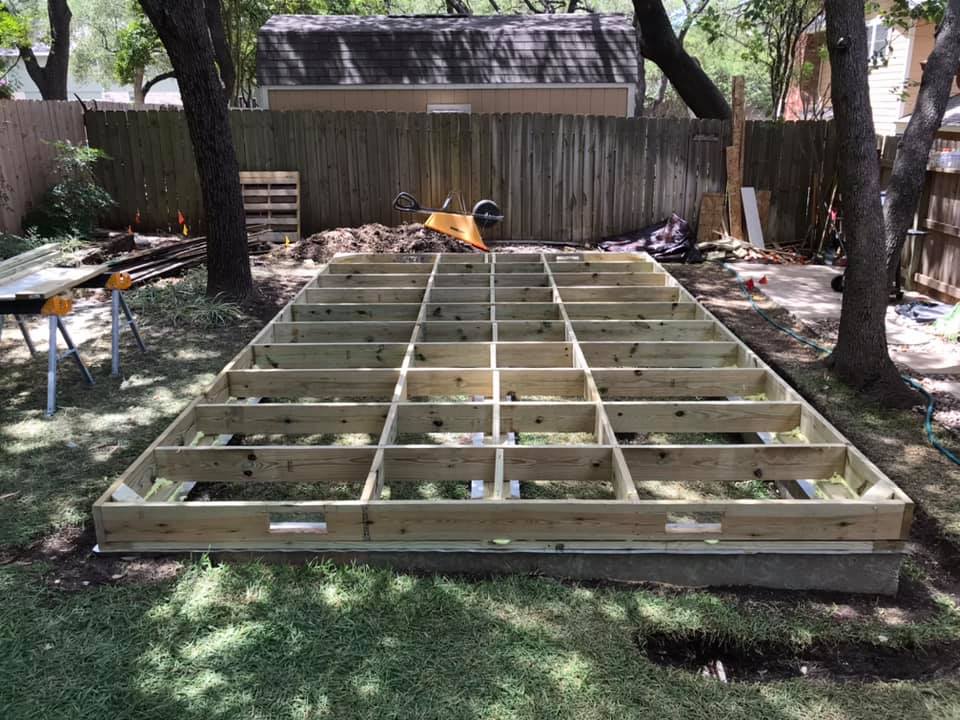
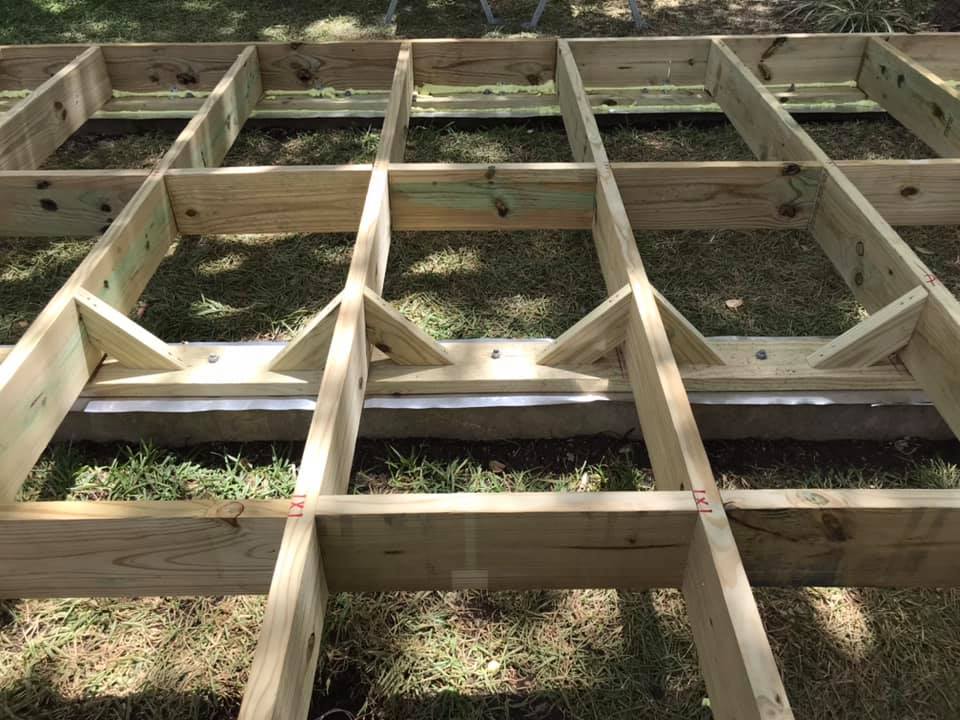
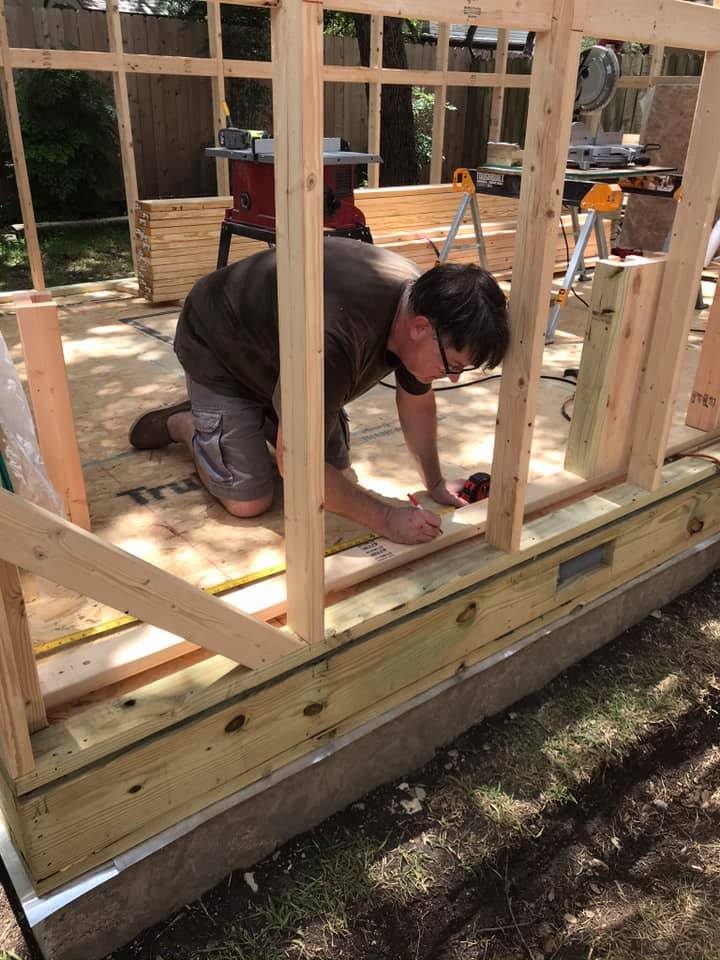
The foundation work was completed, and next we moved on to the framing for the floor. Below are some shots of how the floor joists were laid and trussed for maximum strength while keeping the project affordable. Using load tables found online, I was able to calculate the live and dead load minimums supported by 2x8x12 treated pine floor joists, augmented with a center transom beam. You can see the layout below, which features a truss system I designed for the transom. It makes the whole floor incredibly rigid!
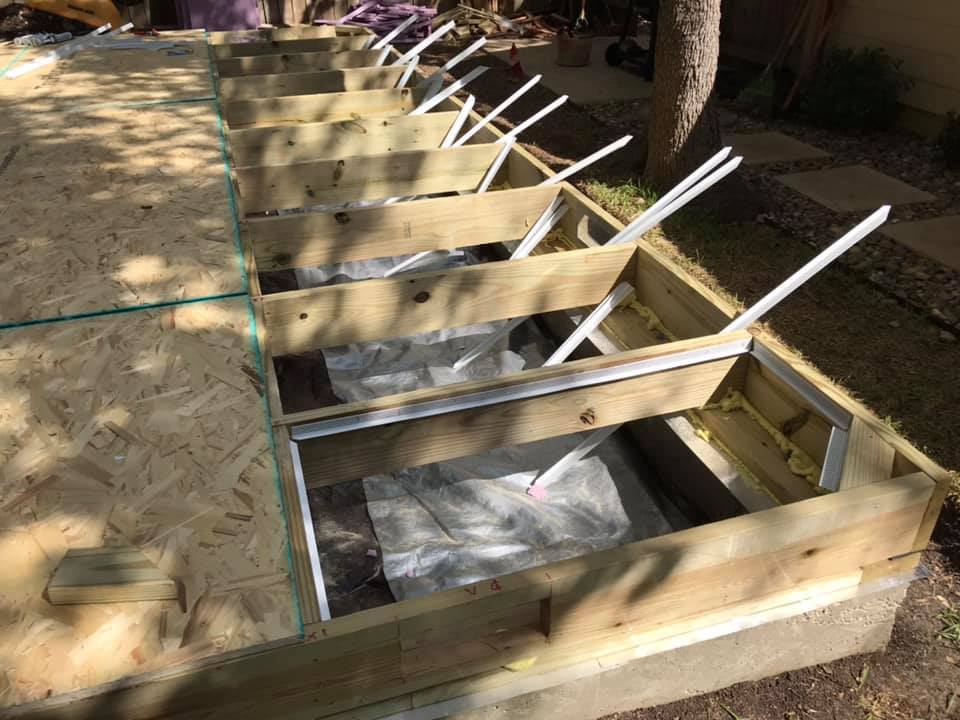
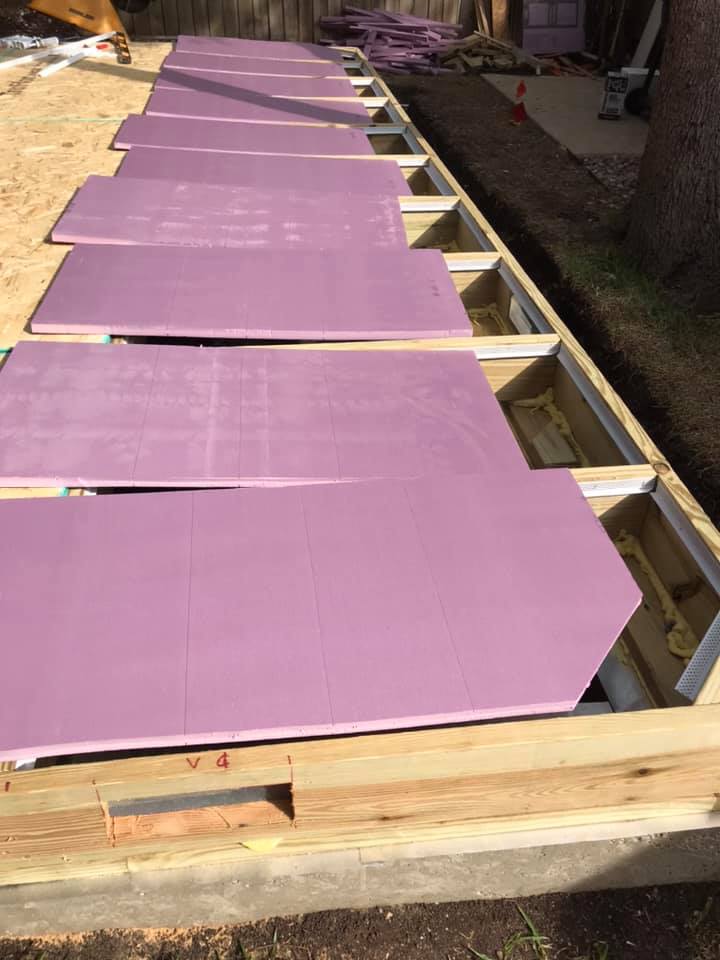
Insulation and the creation of a vapor barrier system begins after the joists are complete. I came up with a dual system that used PVC corner bead to create a bed in which the 1″ polystyrene foam rests, and silicone caulk to seal the gaps for an effective vapor barrier. Note that the ground also has a reinforce plastic tarp to act as a barrier, held in place by rocks. With the ground covered with a plastic vapor barrier, and the underside of the decking covered with a polystyrene foam as a vapor barrier, the underside will remain dry thanks to air movement through the 8 vents (2 on each side) that are cut into the joist’s band beams.
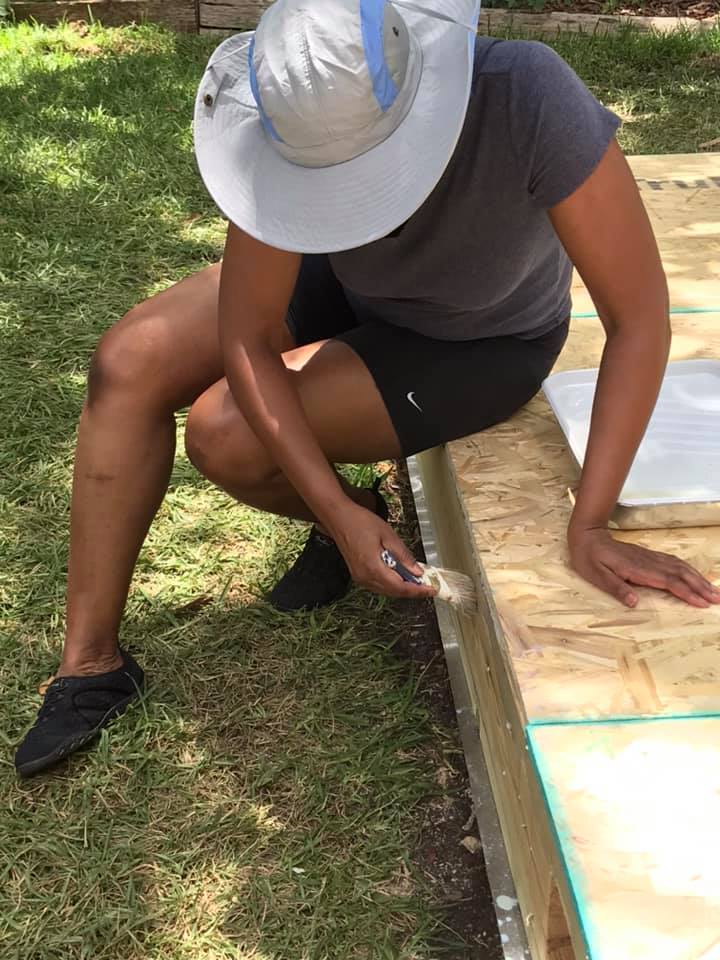
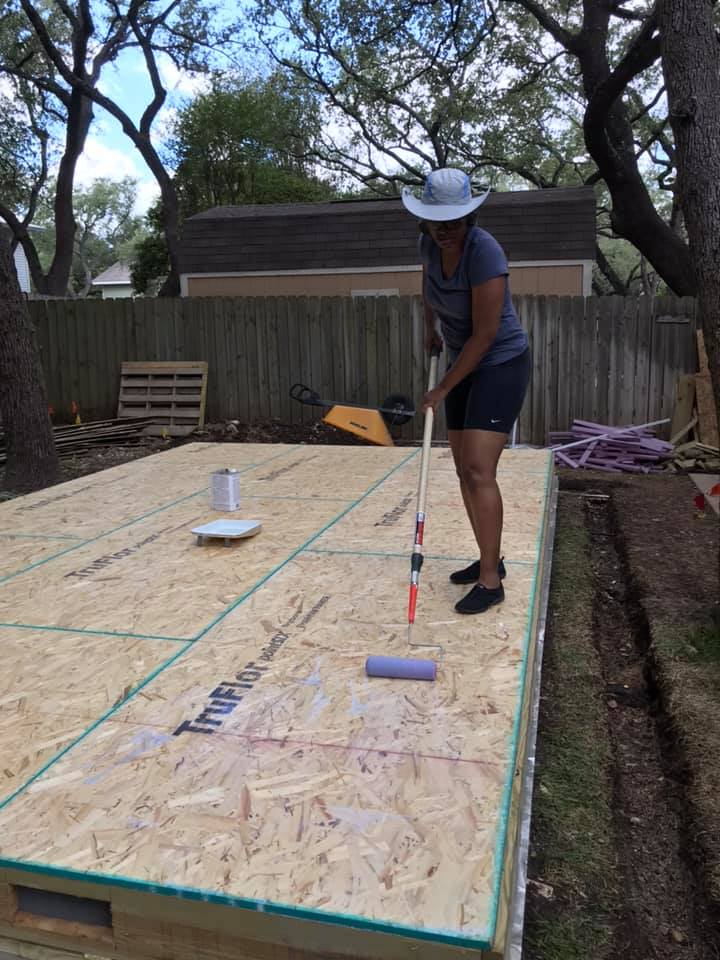
As the decking is complete, sealing the seams and the surface becomes important. The decking is rated for exposure with water-resistant binders holding together the oriented strands, but I don’t like to take chances, so Joan Marie helps me out with the sealant work. Again, not an essential step, but I have a genetic predisposition to overbuilding things!


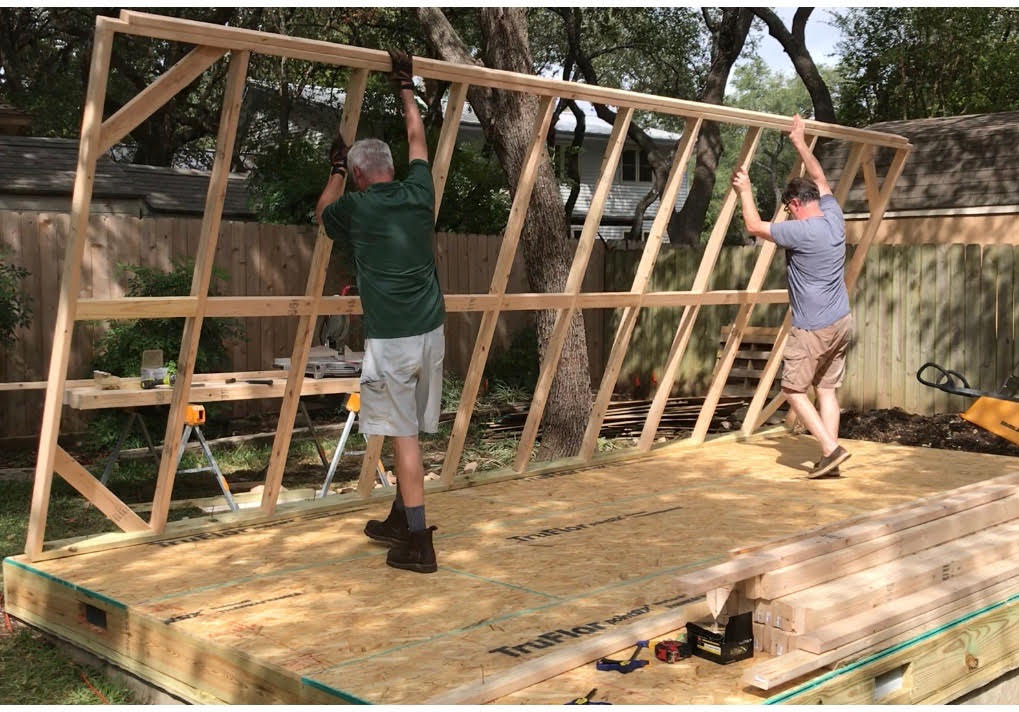
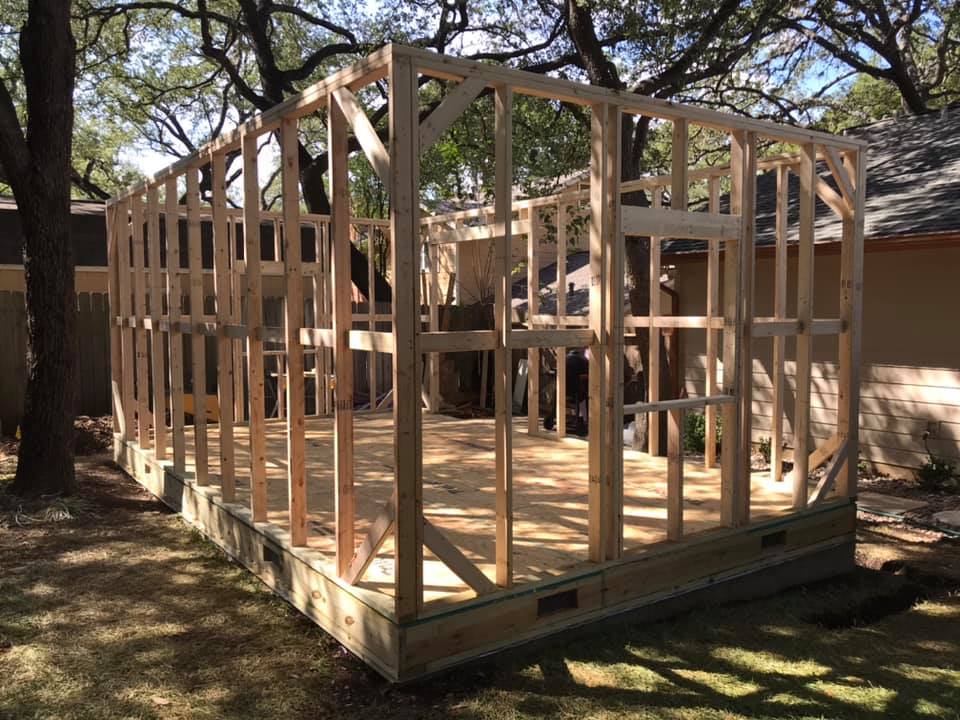
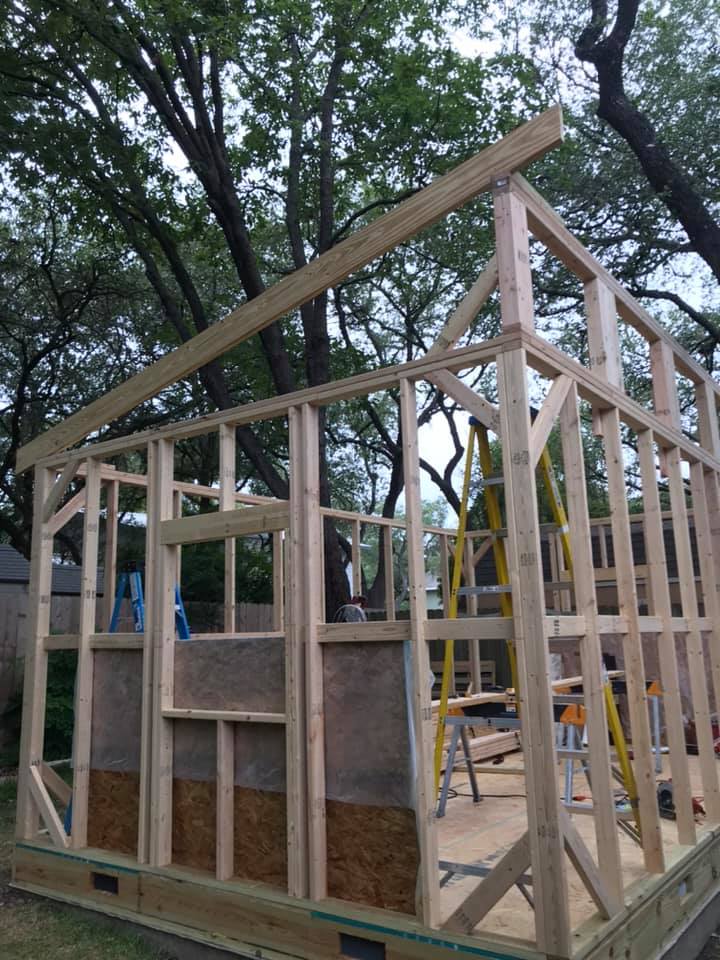
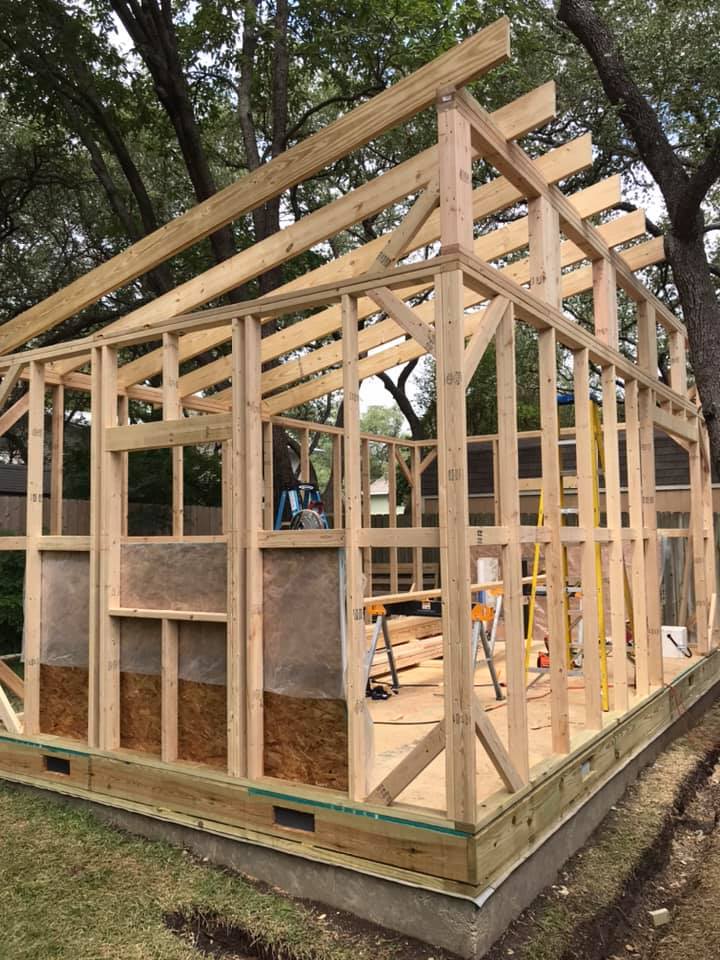
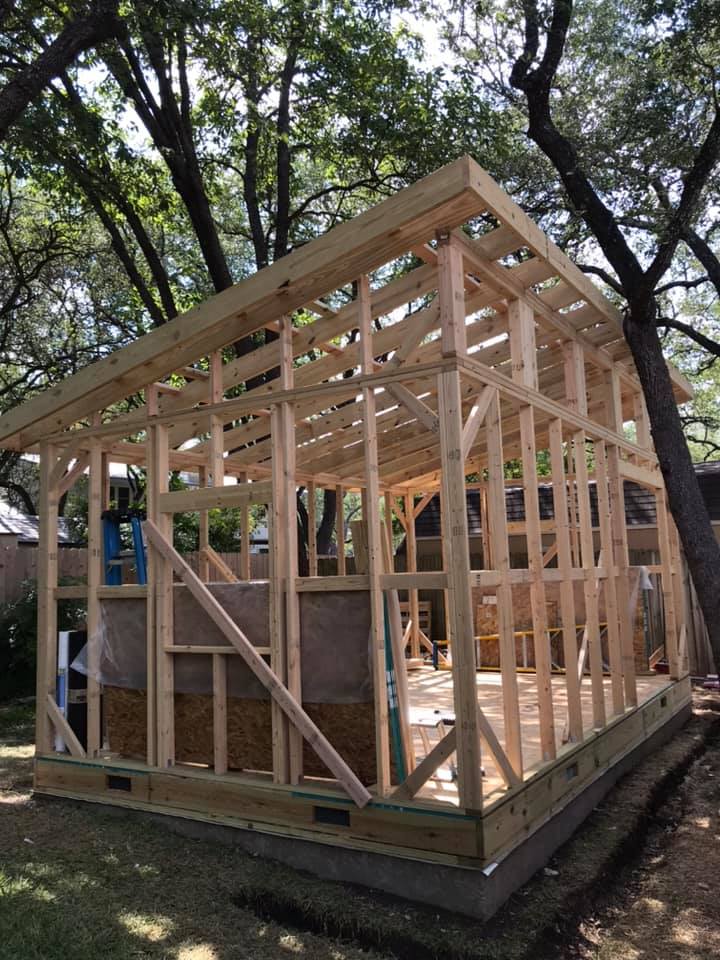
Once the floor joists are set, insulation added, and decking glue, nailed and sealed, framing for the walls begins, With many thanks to my neighbor Ben, who helped lift the walls into place, the whole process goes smoothly. As this building will have an OSB (Oriented Strand Board) skin (with a clapboard veneer), and OSB interior walls as well, the framing is 24″ on center instead of 16″ on center. With plywood on the outside and inside, it will be very strong!
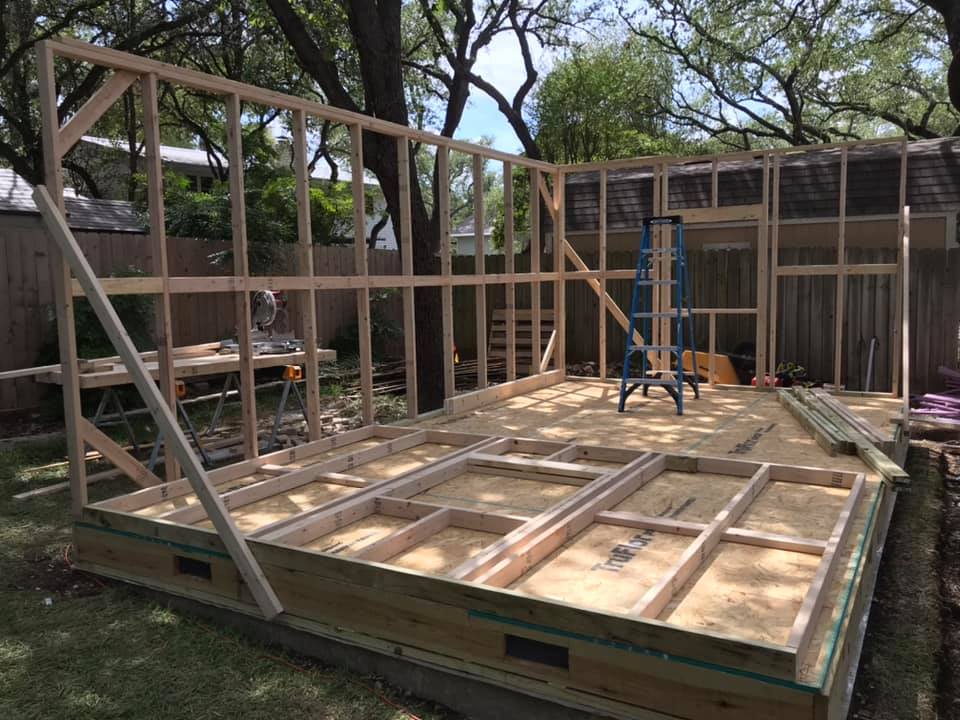
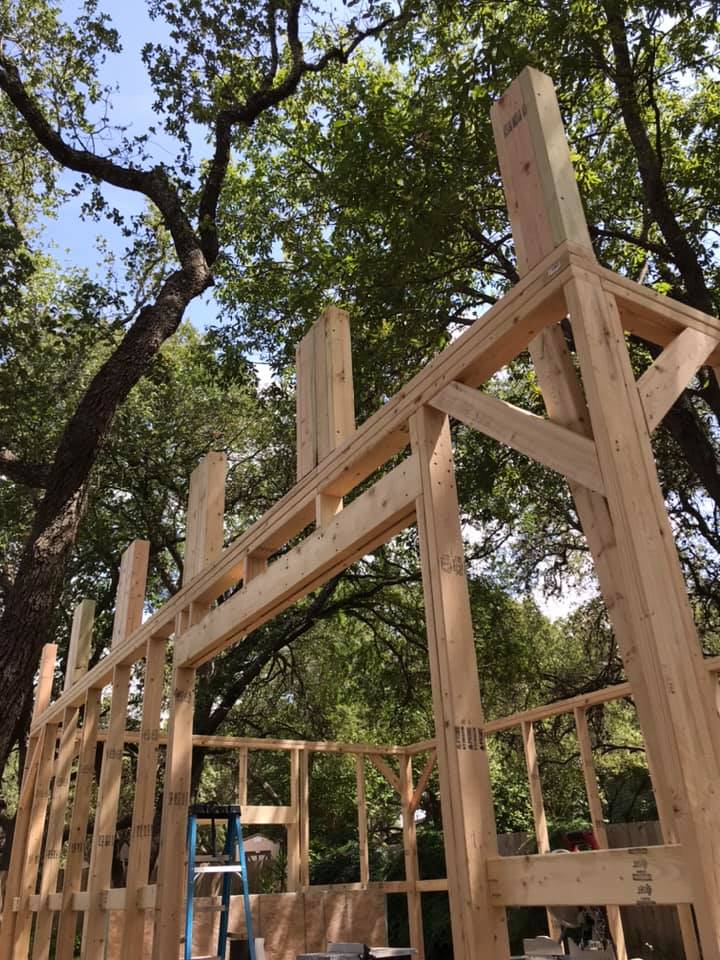
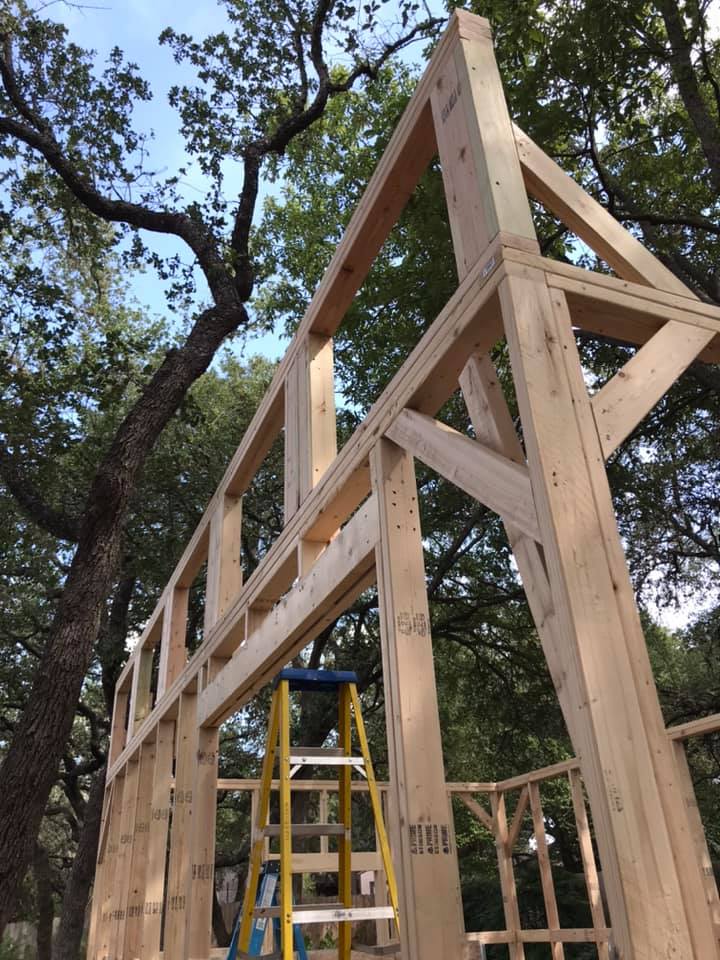
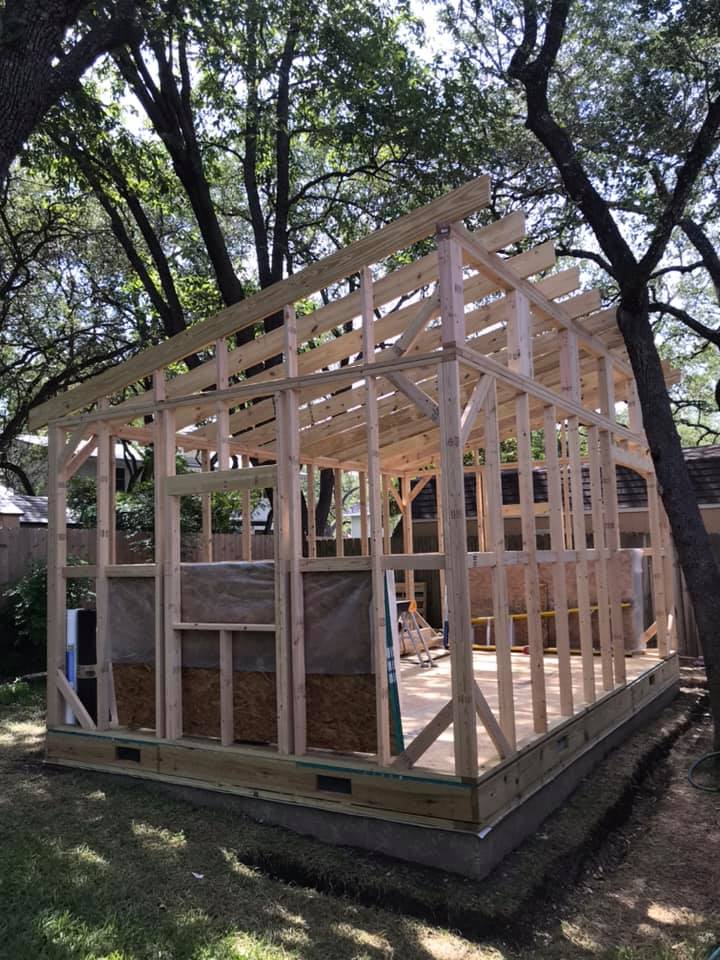
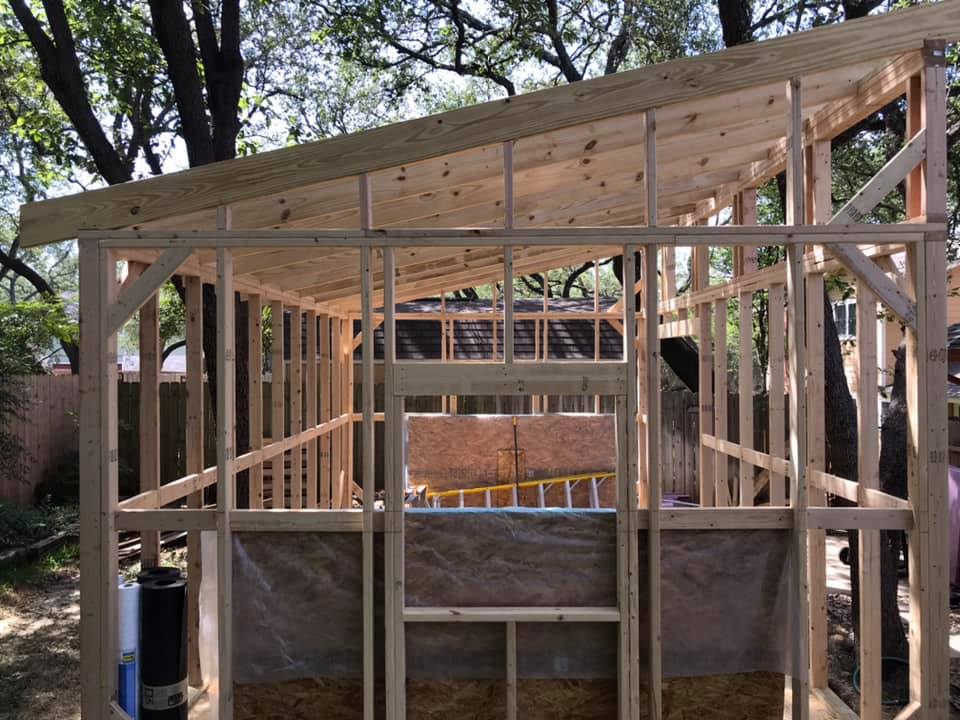
After the walls are made plumb and square, additional bracing is added to ensure that the building does not twist or rack as the roof framing is added. Once this reinforcing is complete, I began to frame up the primary support for the roof on top of a triple top plate. These supports are very heavy duty because this elevation has within it the clerestory windows that will run the length of the east wall. With the framing completed by the setting of the rafters, the blocking and the rafters’ band beams, we are ready to move on to the next stage! The next blog post will feature the decking of the roof and the skinning of the walls, and maybe we’ll get our windows and doors in too!


That’s it for this post! Thanks for reading! More to come!!
Awesome job! Looking forward to the reveal!!