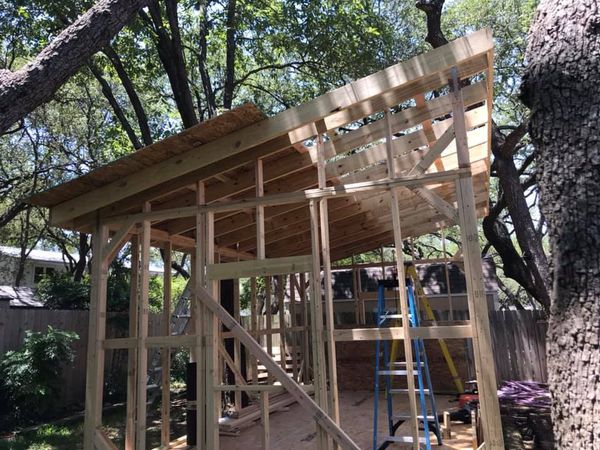
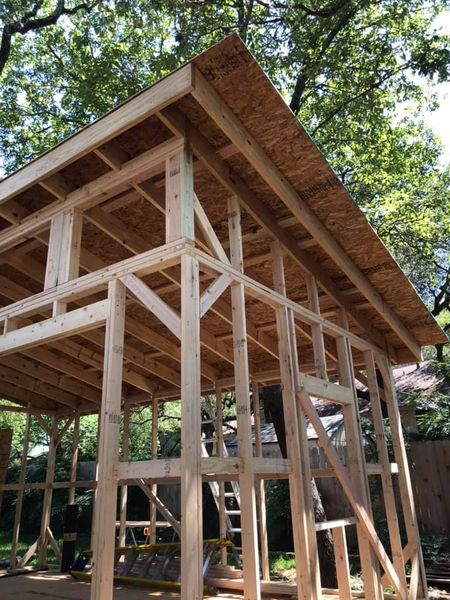
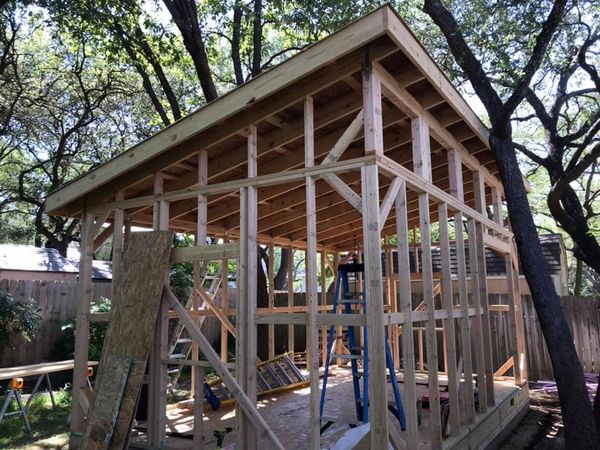
Enclosing the frame . . .
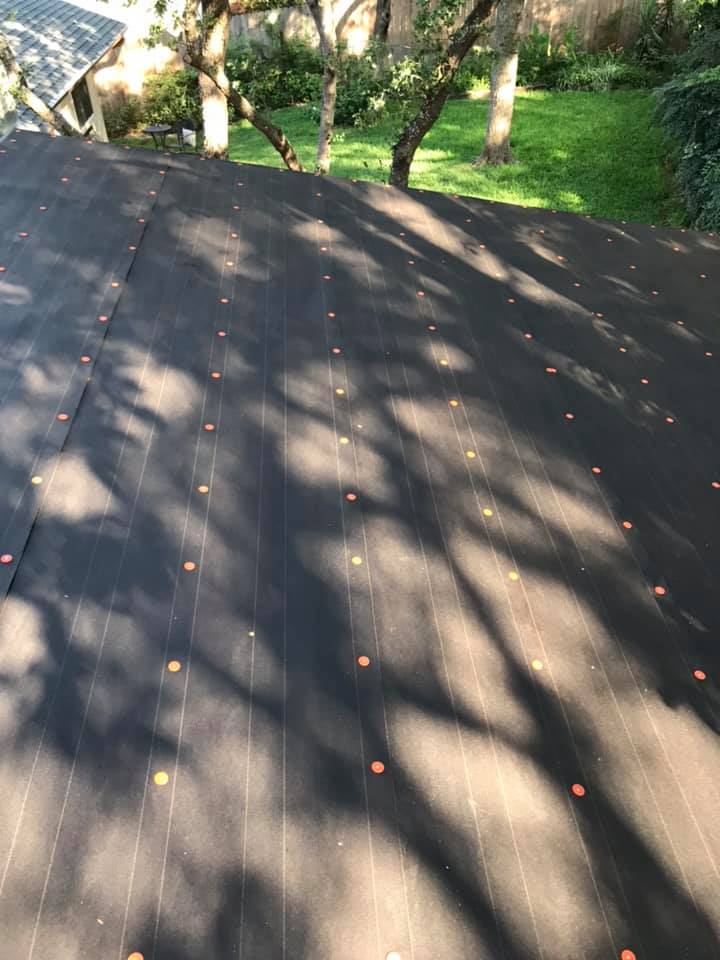
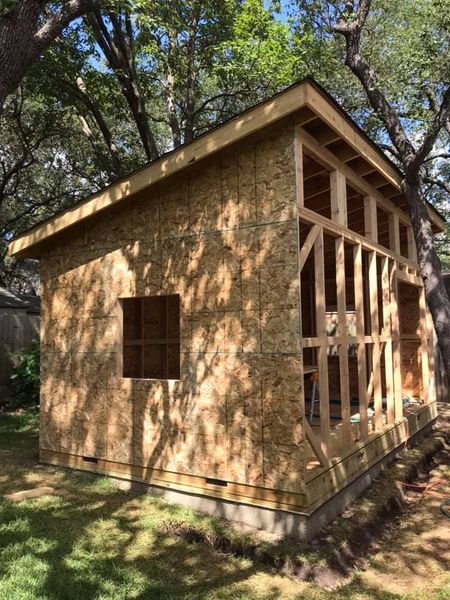
With the framing complete, it’s time to get some cover over the project! In other words, let’s build the roof! Here you can see the decking for the roof being nailed down and topped with roofing felt.

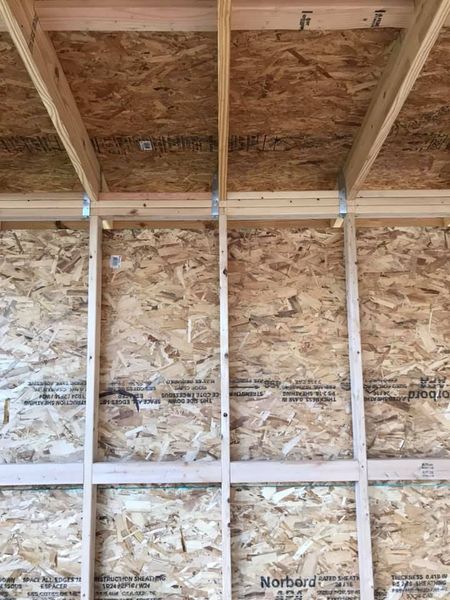
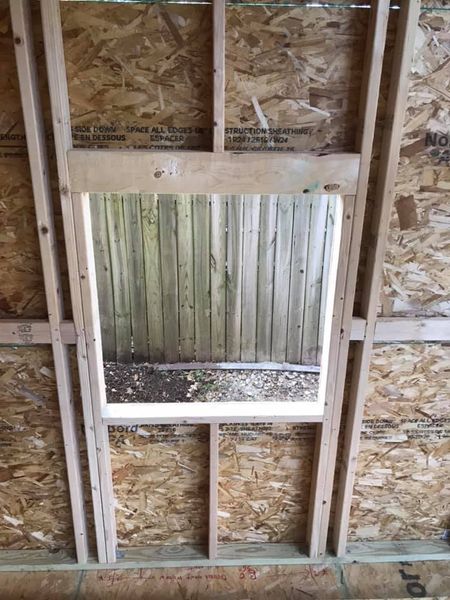
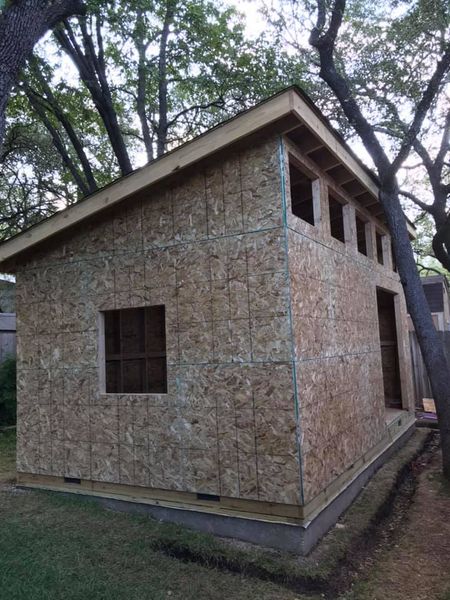
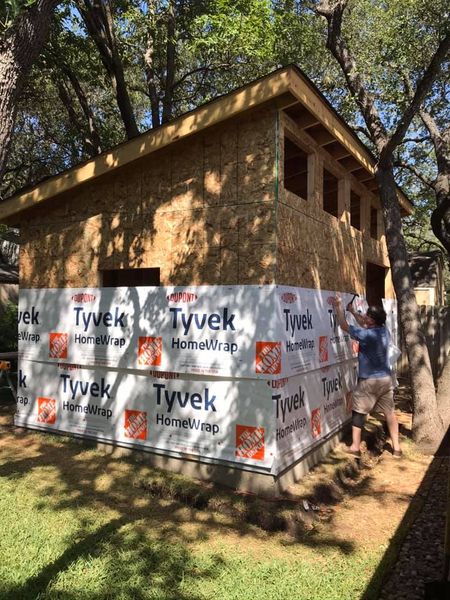
Once the felt is down, the walls start to go up. I’m using oriented strand board (OSB) for strength. Note the lines on the outside of the product help to align the nailing pattern with the studs underneath. All nailing is spaced about 8″ to 10″ apart, or about 5 to 6 nails for each 4′ length. I’m using a 2″ galvanized nail, slightly countersunk with my handy nail gun (love my Paslode gun! So easy to work with!. The countersinking of the nails is so that the Tyvek (see next step) goes down smoothly and will not be torn or damaged by a nail head that’s sticking up. Note that I’m also cutting out window and doors from the OSB, after it’s hung rather than before it’s put up. My approach to this was to skin the OSB right over the windows and doors, then drilling out the corners of each opening from the inside, the popping a chalk line on the outside to mark out the cut, and last, using the skill-saw to remove the OSB. The process gets very good results, as you can see.
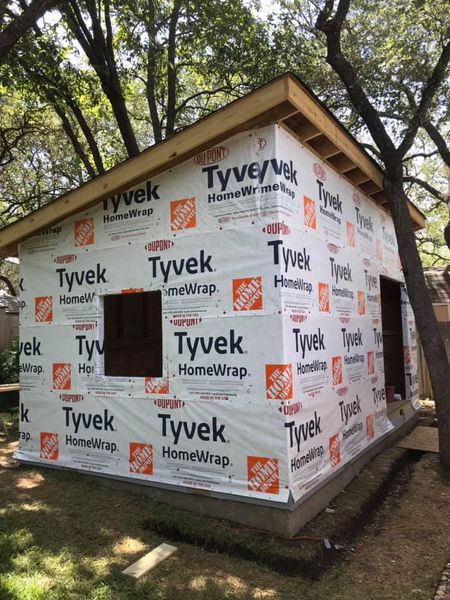
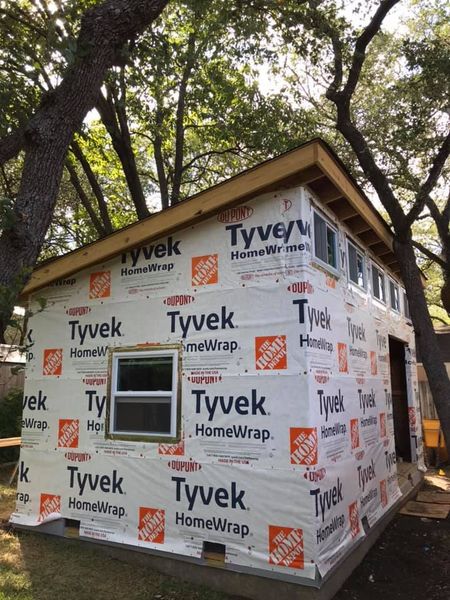
The walls need covering with a vapor barrier to protect the OSB from moisture, and I’ve used Tyvek here. It’s a great product that I’ve used for years, and it’s hung using capped roofing nails that simultaneously help me to keep track of my studs. That’ll be very helpful when it comes to hanging the clapboard in the finishing stages of the studio’s exterior. Note that the Tyvek is “shingled” – in other words, I start from the very bottom and layer each row with an overlap of about 8 inches to ensure that any moisture runs down and out. Windows and doors are cut out and taped with special Tyvek tape to ensure a good seal.
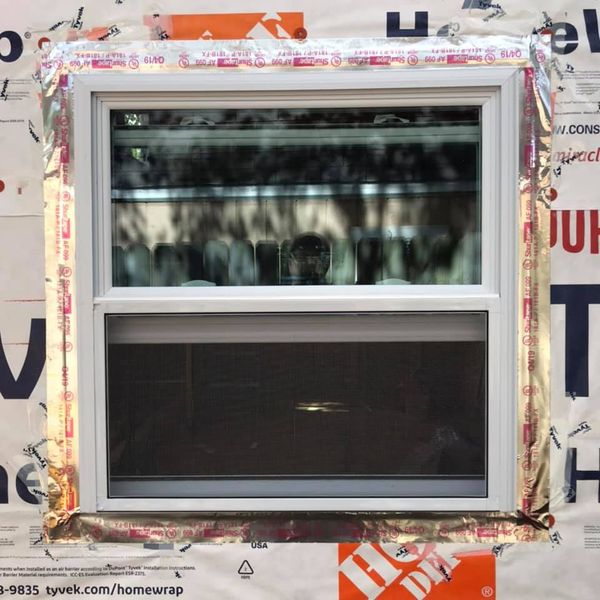
Installation of the windows is next, and I would have done the doors as well, but they’re back-ordered. As a side note, it’s been interesting working on this project during a pandemic, because I’m apparently competing with everyone else for materials. It seems that folks want to work on projects, and they’re suddenly able to do so because everyone’s working from home. A trip to the local hardware store is an exercise in creative thinking about alternative approaches when something is out of stock (nails and screws at one point were as hard to find as face masks). My doors have been delayed twice now, but it looks like they’ll be here (fingers crossed) next week. Note that the windows have an aluminum flashing tape around them. That tape sticks extraordinarily well to the vinyl edges of the windows, and to the Tyvek. A piece of galvanized steel flashing will go over the top piece of window trim that frames the opening. Two layers of moisture protection to keep the water out!


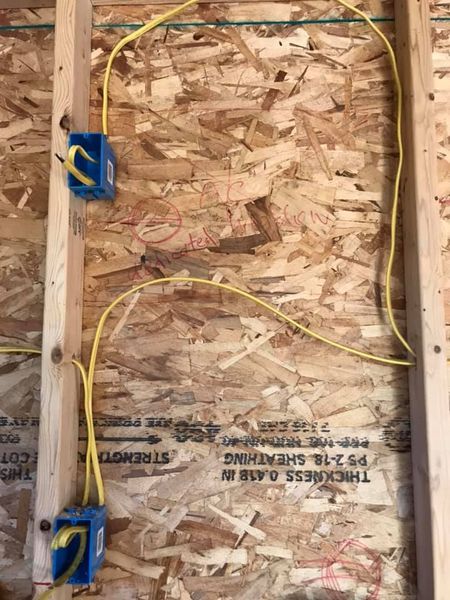
Last, for this update to the studio build, you can see I’ve begun to do the rough wiring for the studio. The service is run to the building underground (more digging ditches! ugh!) and will come up to the panel on the inside. I’m running 100 amps, 50 for the MIG welder and 50 for the rest of the studio. The circuits run the lights and outlets, and yes, air conditioning! I’ll have some lights and outlets on the outside as well. I’ll confess that I hate electricity, and I’m not comfortable hooking all of this up, which is where Victor comes in. He’s a master electrician and has a little time to help inspect my rough-in work and make sure all the connections are legit!


That’s it for this post! Thanks for reading! More to come!!