Roof and Skylights
I love working with Joan Marie – she is a great collaborator! We started discussing the amount of light in the studio with two wall windows and a set of clerestory windows, and of course we wanted more! So, the subject of skylights came up. And, if we were going to do it, the timing was perfect!
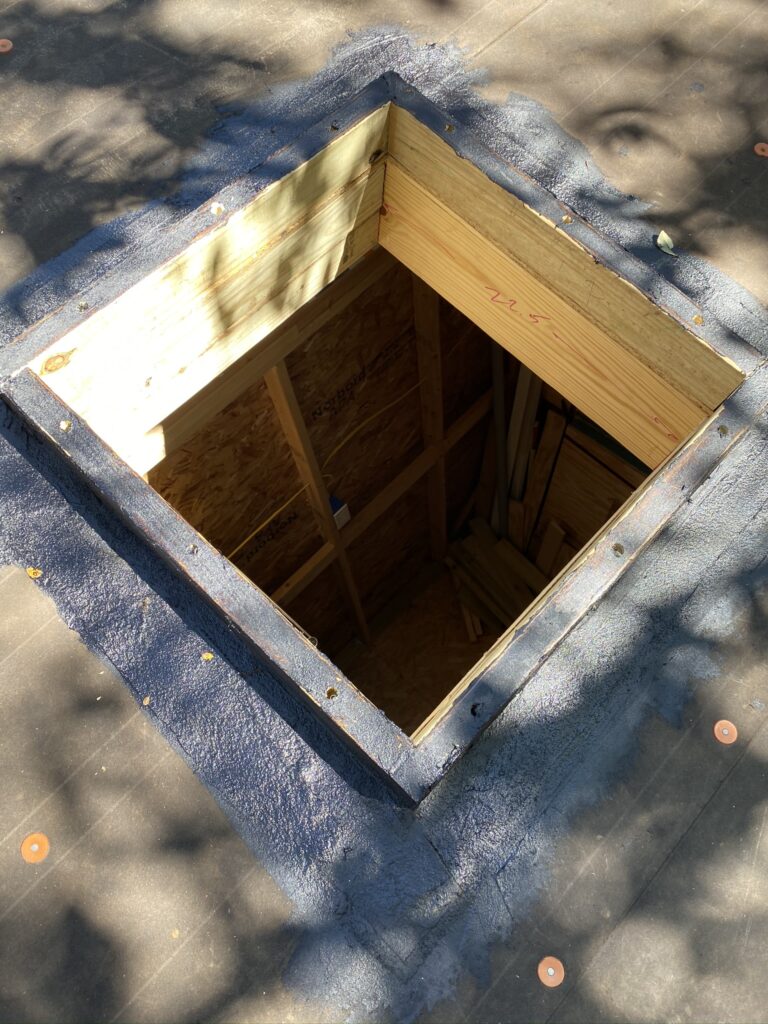
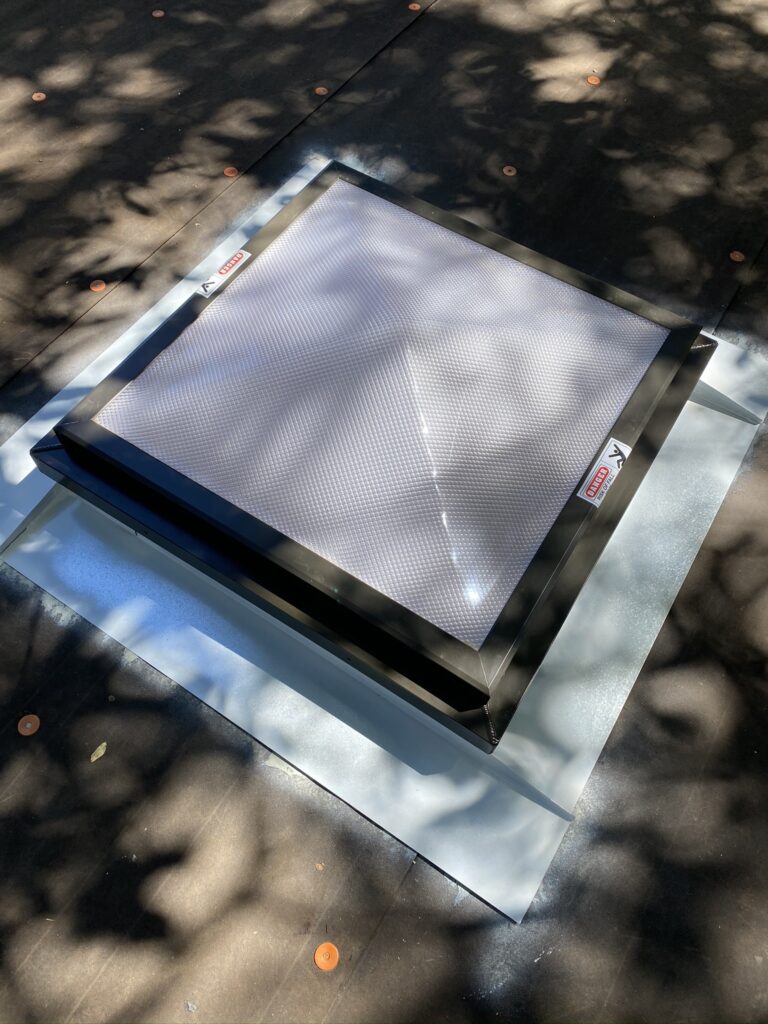
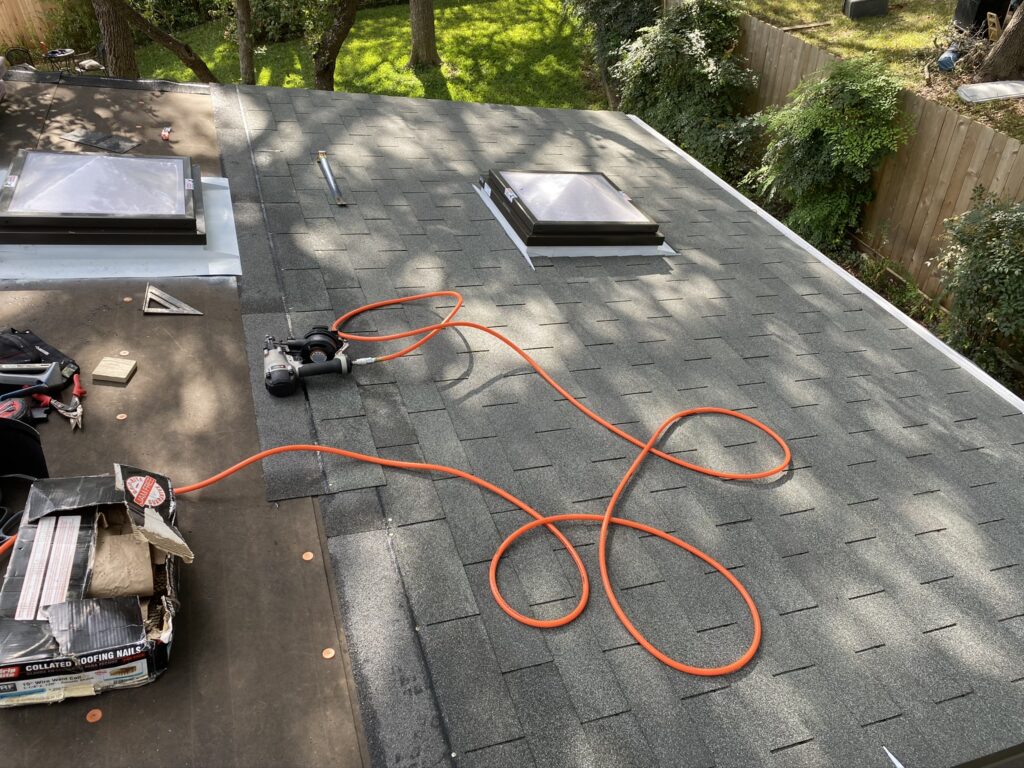
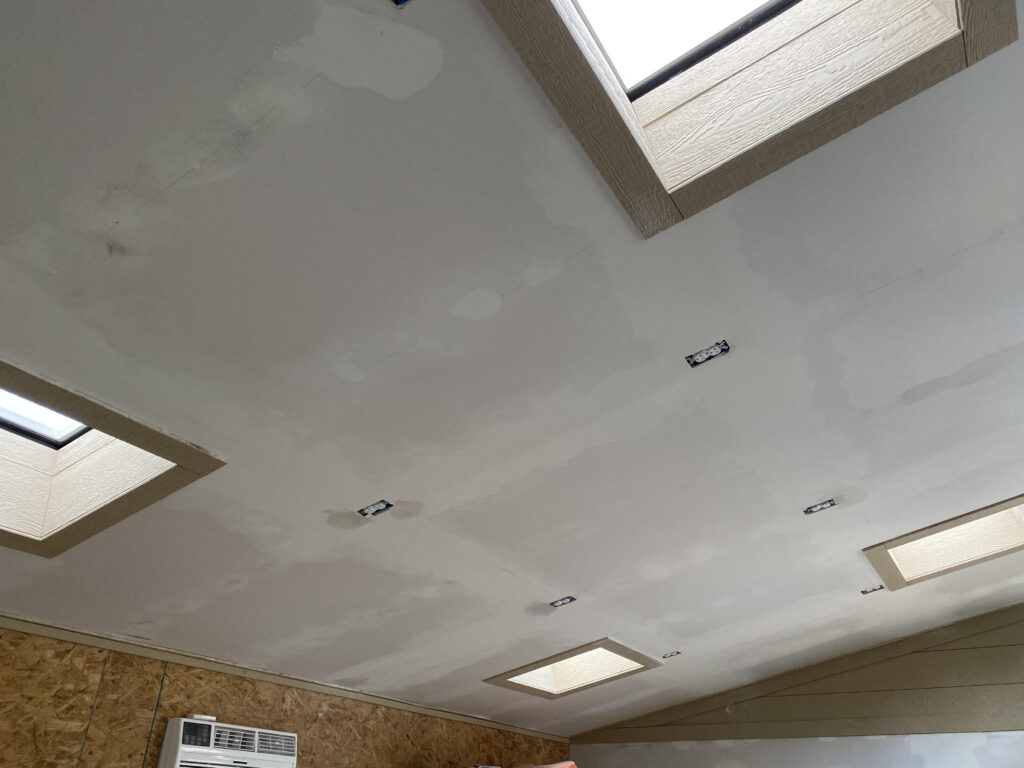
Putting in skylights really should be done before the roof is put on, so I quickly began to research the kind of lights we’d use and where they’d go. In the end, we decided on four 2′ x 2′ lights made by Sunoptics. They are triple glazed fixed curb-mounted prismatic pyramid skylights, and you can see how easy they are to install.
First cut the four rough openings in the roof (gulp!), and then build up the curbs with treated 2″x4″ lumber. Next build up the roofing underlayment with fibered black asphalt roof coating (I like Rust-oleum products, but my goodness, use a organic vapor respirator lest you are prepared to suffer from a day-long headache). I also use a nylon mesh to reinforce the asphalt and pay close attention to the lapping and the fall of the roof. Next the metal flashing goes on, properly lapped, and the shingles follow. Once the shingles are in place, a foam insulation strip is added to the top of the skylight curb and the skylights are put into place and screwed down.
Careful not to over tighten the screws or you’ll crack the plastic! Easy, right?


Drywall and Trim
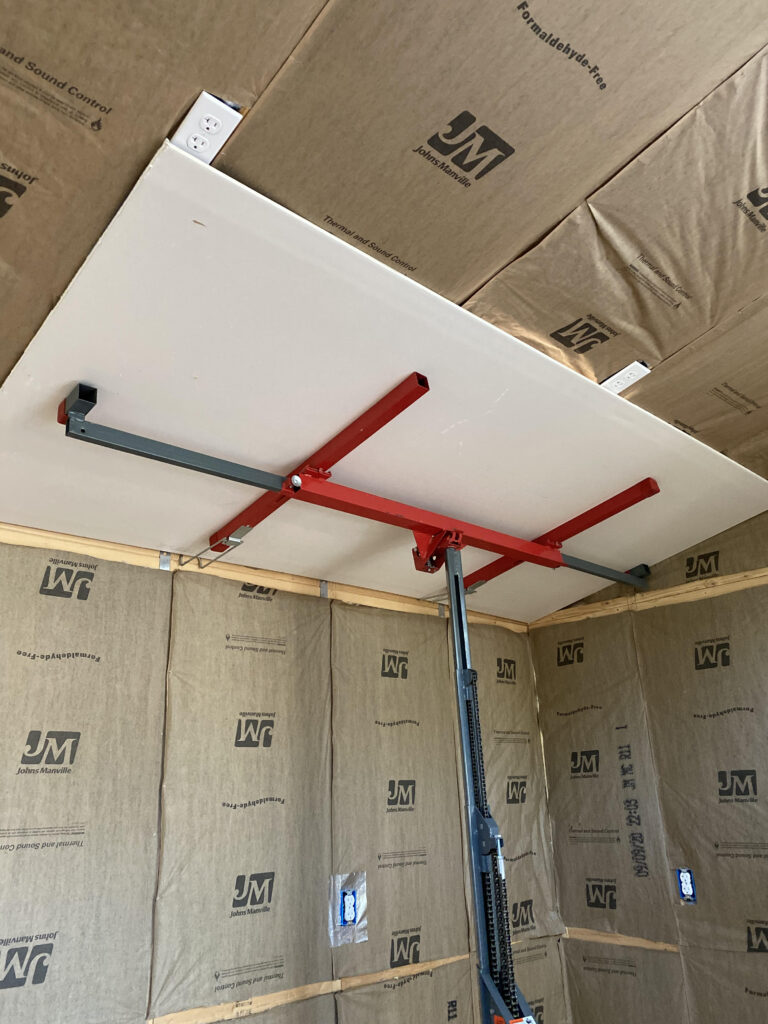
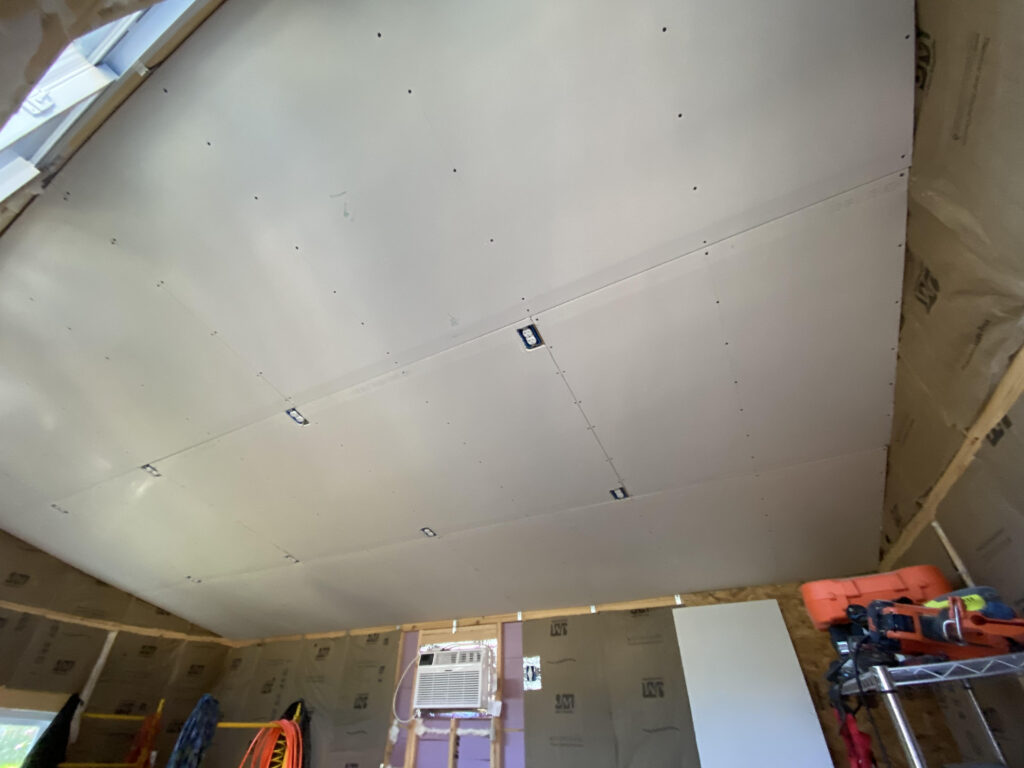
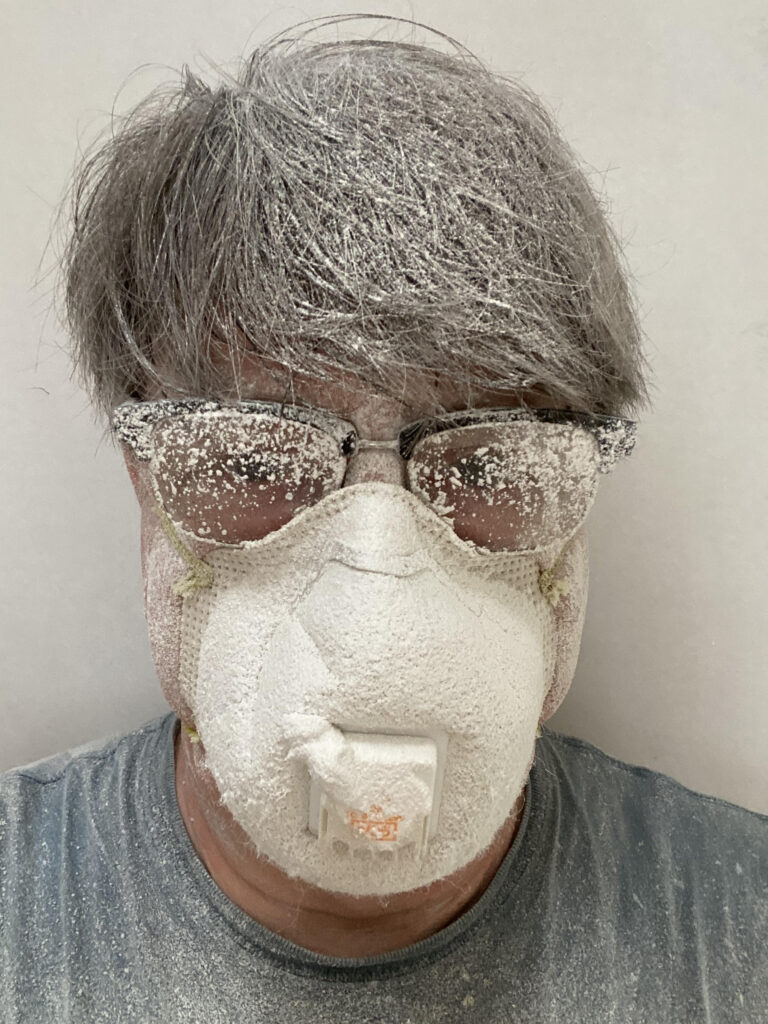
I’ll confess that I hate drywalling almost as much as working on a ladder, but for different reasons . . . drywall is a really dirty process with the dust, and the mud, and all the taping, and the endless sanding, not to mention the sheer physical weight of the boards themselves.
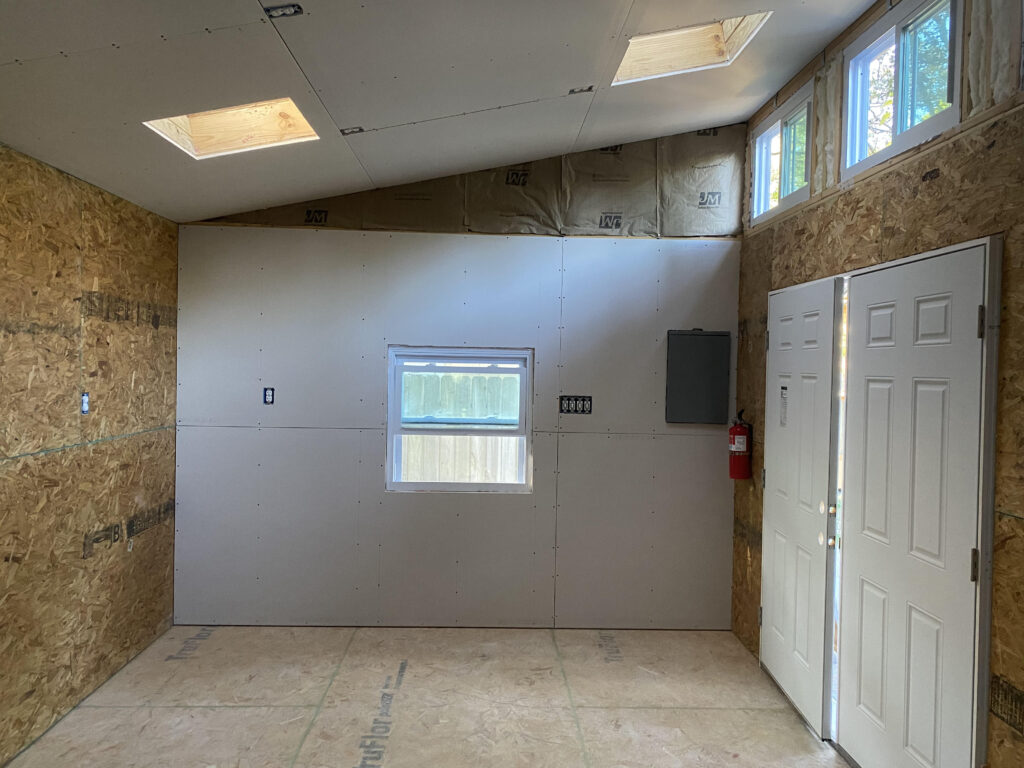
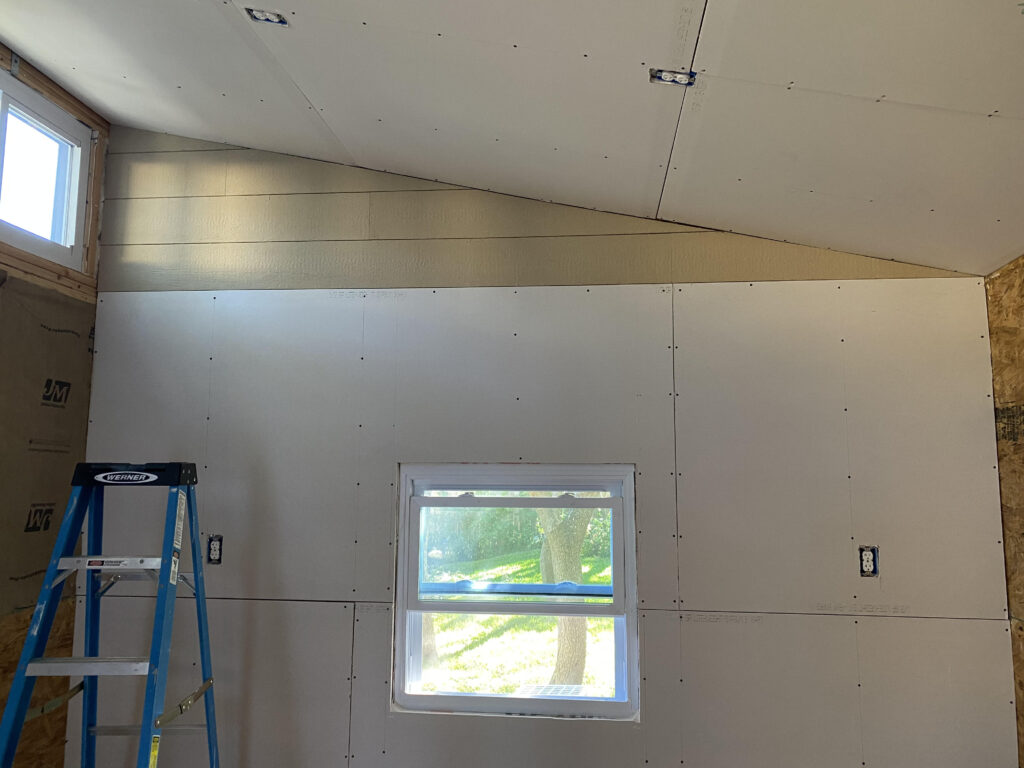
But, with the right tool, a drywall lift, at least one person can do the job and not risk life and limb by trying to hold up a board and screwing it in at the same time! Below are a few shots of the drywall being hung, and as well, I’ve included some of the left-over exterior siding being used in the clerestory section as a kind of shiplap. In fact (waste not, want not), I used all of the remaining exterior LP Smartside lap board as trim material for the skylights, windows, doors, and baseboard. It has a nice texture that contrasts nicely with the smooth drywall.
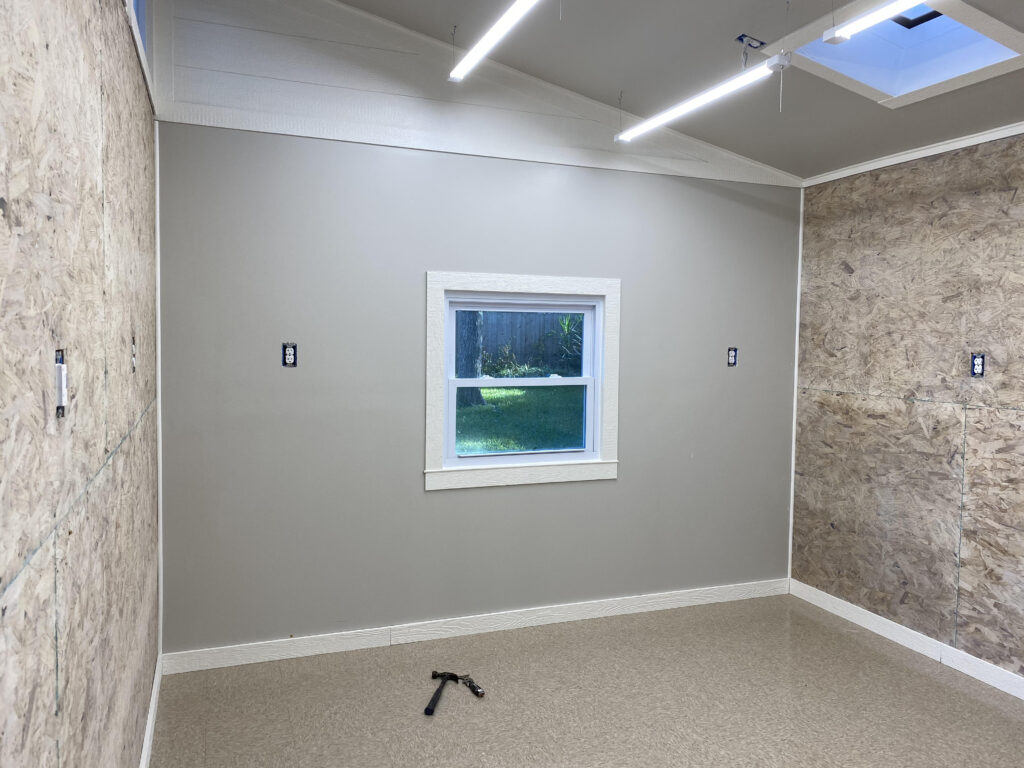
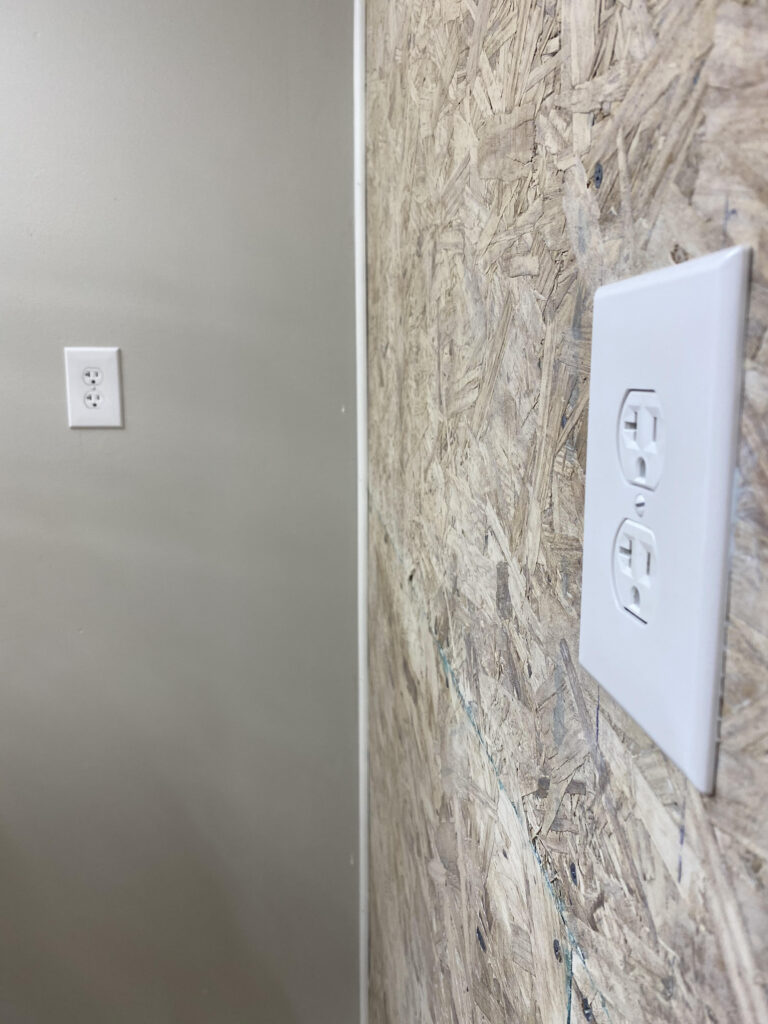
And, speaking of texture and contrast, we decided that the long walls would be sheathed with regular 7/16″ OSB plywood instead of drywall. Not only is this surface practical for the studio (less reliant on finding studs to hang things on the wall), it tremendously improves the rigidity of the building and, with all the insulation, cuts down the outside noise quite a bit! The studio will be quiet, save for the tunes the artists crank out while working!


Floors and Paint
There’s a point in every project when you just start wishing it would be done, and the special temptation with a studio or a shop is that some things are “good enough” and you could theoretically stop working on the building and start using the space for its intended purpose before it’s actually finished. You can always tell yourself that you’ll get back to the details later. Riiight!
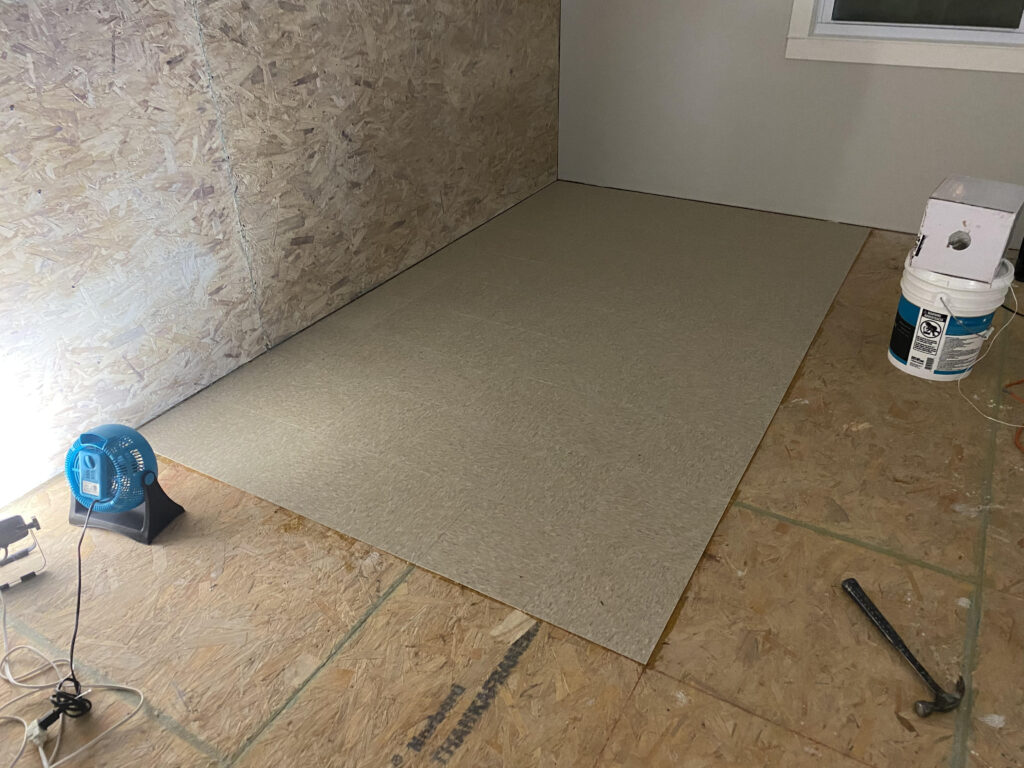
But I know myself well enough to realize that, once I move in, nothing else will ever get done because much of my studio equipment is too cumbersome to remove, and you kinda get comfy and accustomed to an unfinished state. No, for me, it’s got to be complete before I move in, so a CVT floor (with 4 coats of sealant), baseboard floor trim, finished paint (including a sanding/whitewash treatment for the OSB), and even outlet cover plates are all needed now, because if I don’t do them now, they’ll never get done!


That’s all for now!
The drywall lift was the bees knees! Can’t wait for the studio to go into production.